5 Tips for MEANINGFUL Travel Photography
You don’t need an $1,000+ camera to capture beautiful travel photography. Additionally, you don’t even need extensive camera knowledge or Photoshop expertise. Some of my favorite travel images I shot when I was in the 8th grade on a family trip to Europe. While I wish someone would’ve told me to shoot in RAW instead of JPEG, at least I still remembered to put them on an external hard drive!
In this blog post, I will be covering everything from what gear I use to being respectful of those who will be in my photograph. Although I am 22, I have around a decade of experience under my belt and want to share with you some easy ways to make striking travel photography more accessible and less intimidating. Without further ado, the tips!
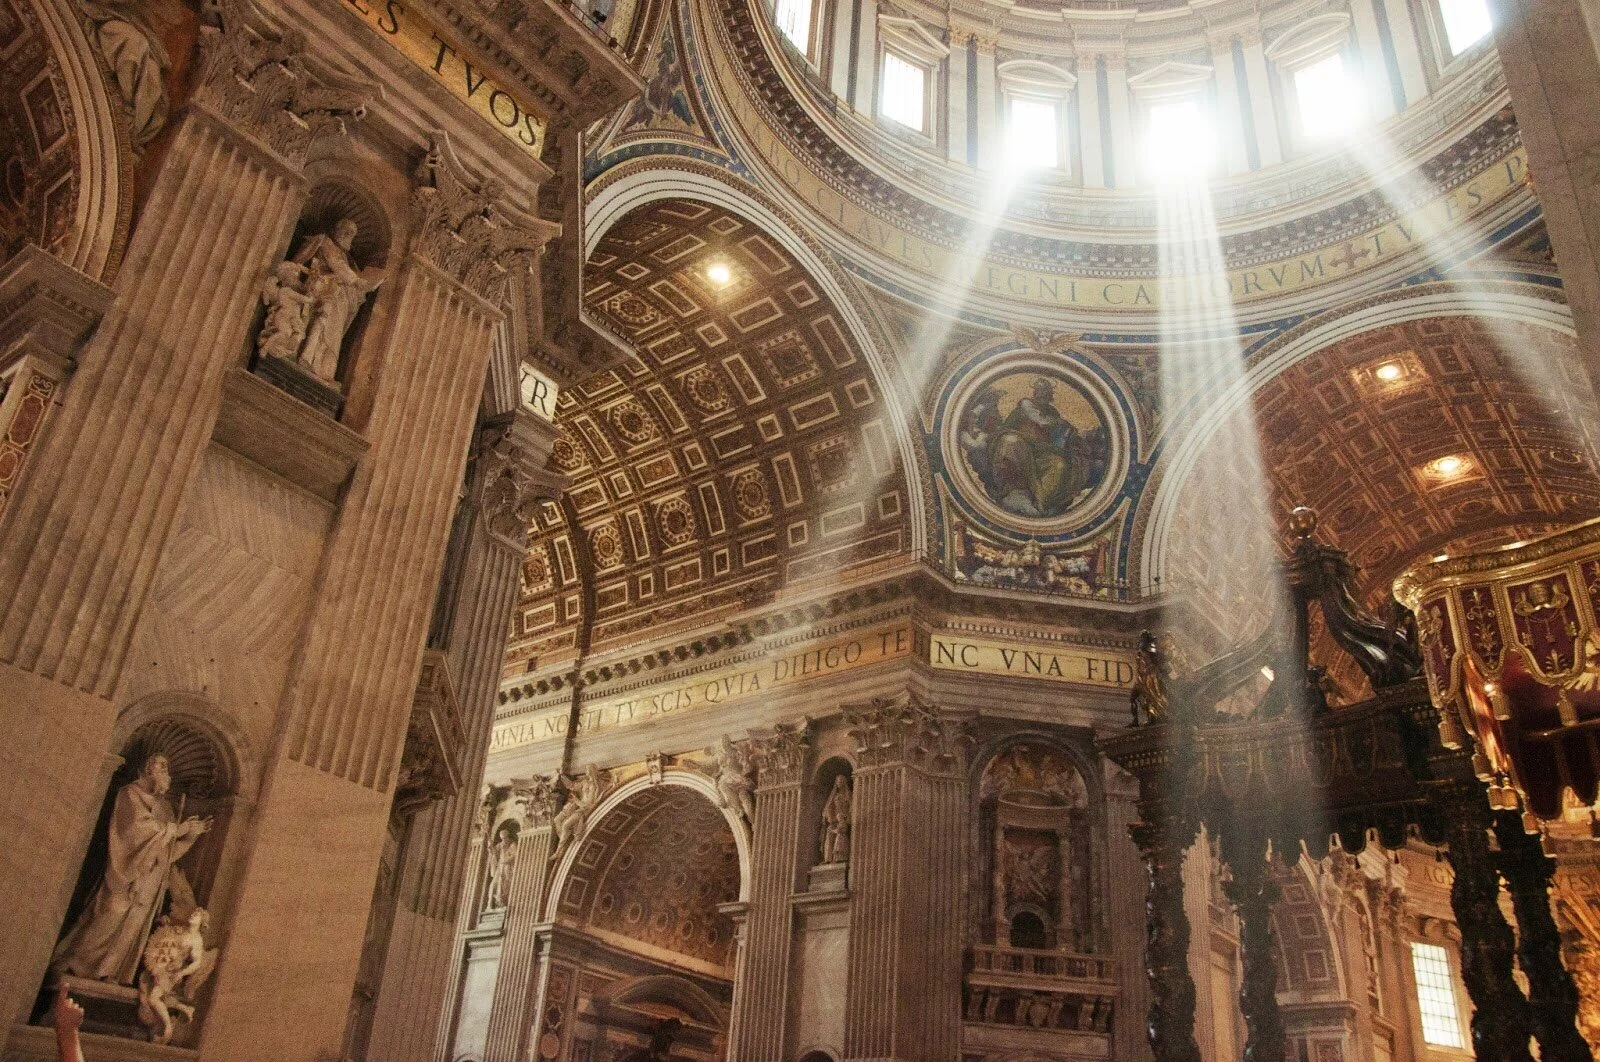
St. Peter’s Basilica (Taken by Clare in July 2014)
TIP #1: The Best Camera is the One You Have with You I am a firm believer that the best camera is the one you have on you. If you are planning on using iPhone, this post is still for you. One of my favorite photographers shot her entire vacation in Spain exclusively with an iPhone. That being said, if you plan on printing large prints of your work, you might want to invest in something a little nicer or as stated above, shoot in RAW (file size). I also find that iPhones have a harder time getting those “light streaks” that you may notice in my own photos. I try to pack as minimally and efficiently as possible which means leaving my “big camera” at home. For travel, I pack my Canon EOS M5, 22mm lens, memory cards, extra batteries, a memory card adapter that connects to my iPhone/iPad, and a wireless external hard drive. This equipment cost me around $600-$700. General rule: get a prime lens (examples: 22mm, 35mm,50mm) + a camera body. Personally, the kits Costco sells are only slightly cheaper than my own gear but the quality of the lenses they give you (zoom lenses) are terrible. Bottom line: You do not have to spend thousands of dollars to pretty images!
TIP #2: IT’S ALL ABOUT LIGHTING. IT’S NOT ALWAYS ABOUT GOLDEN HOUR.
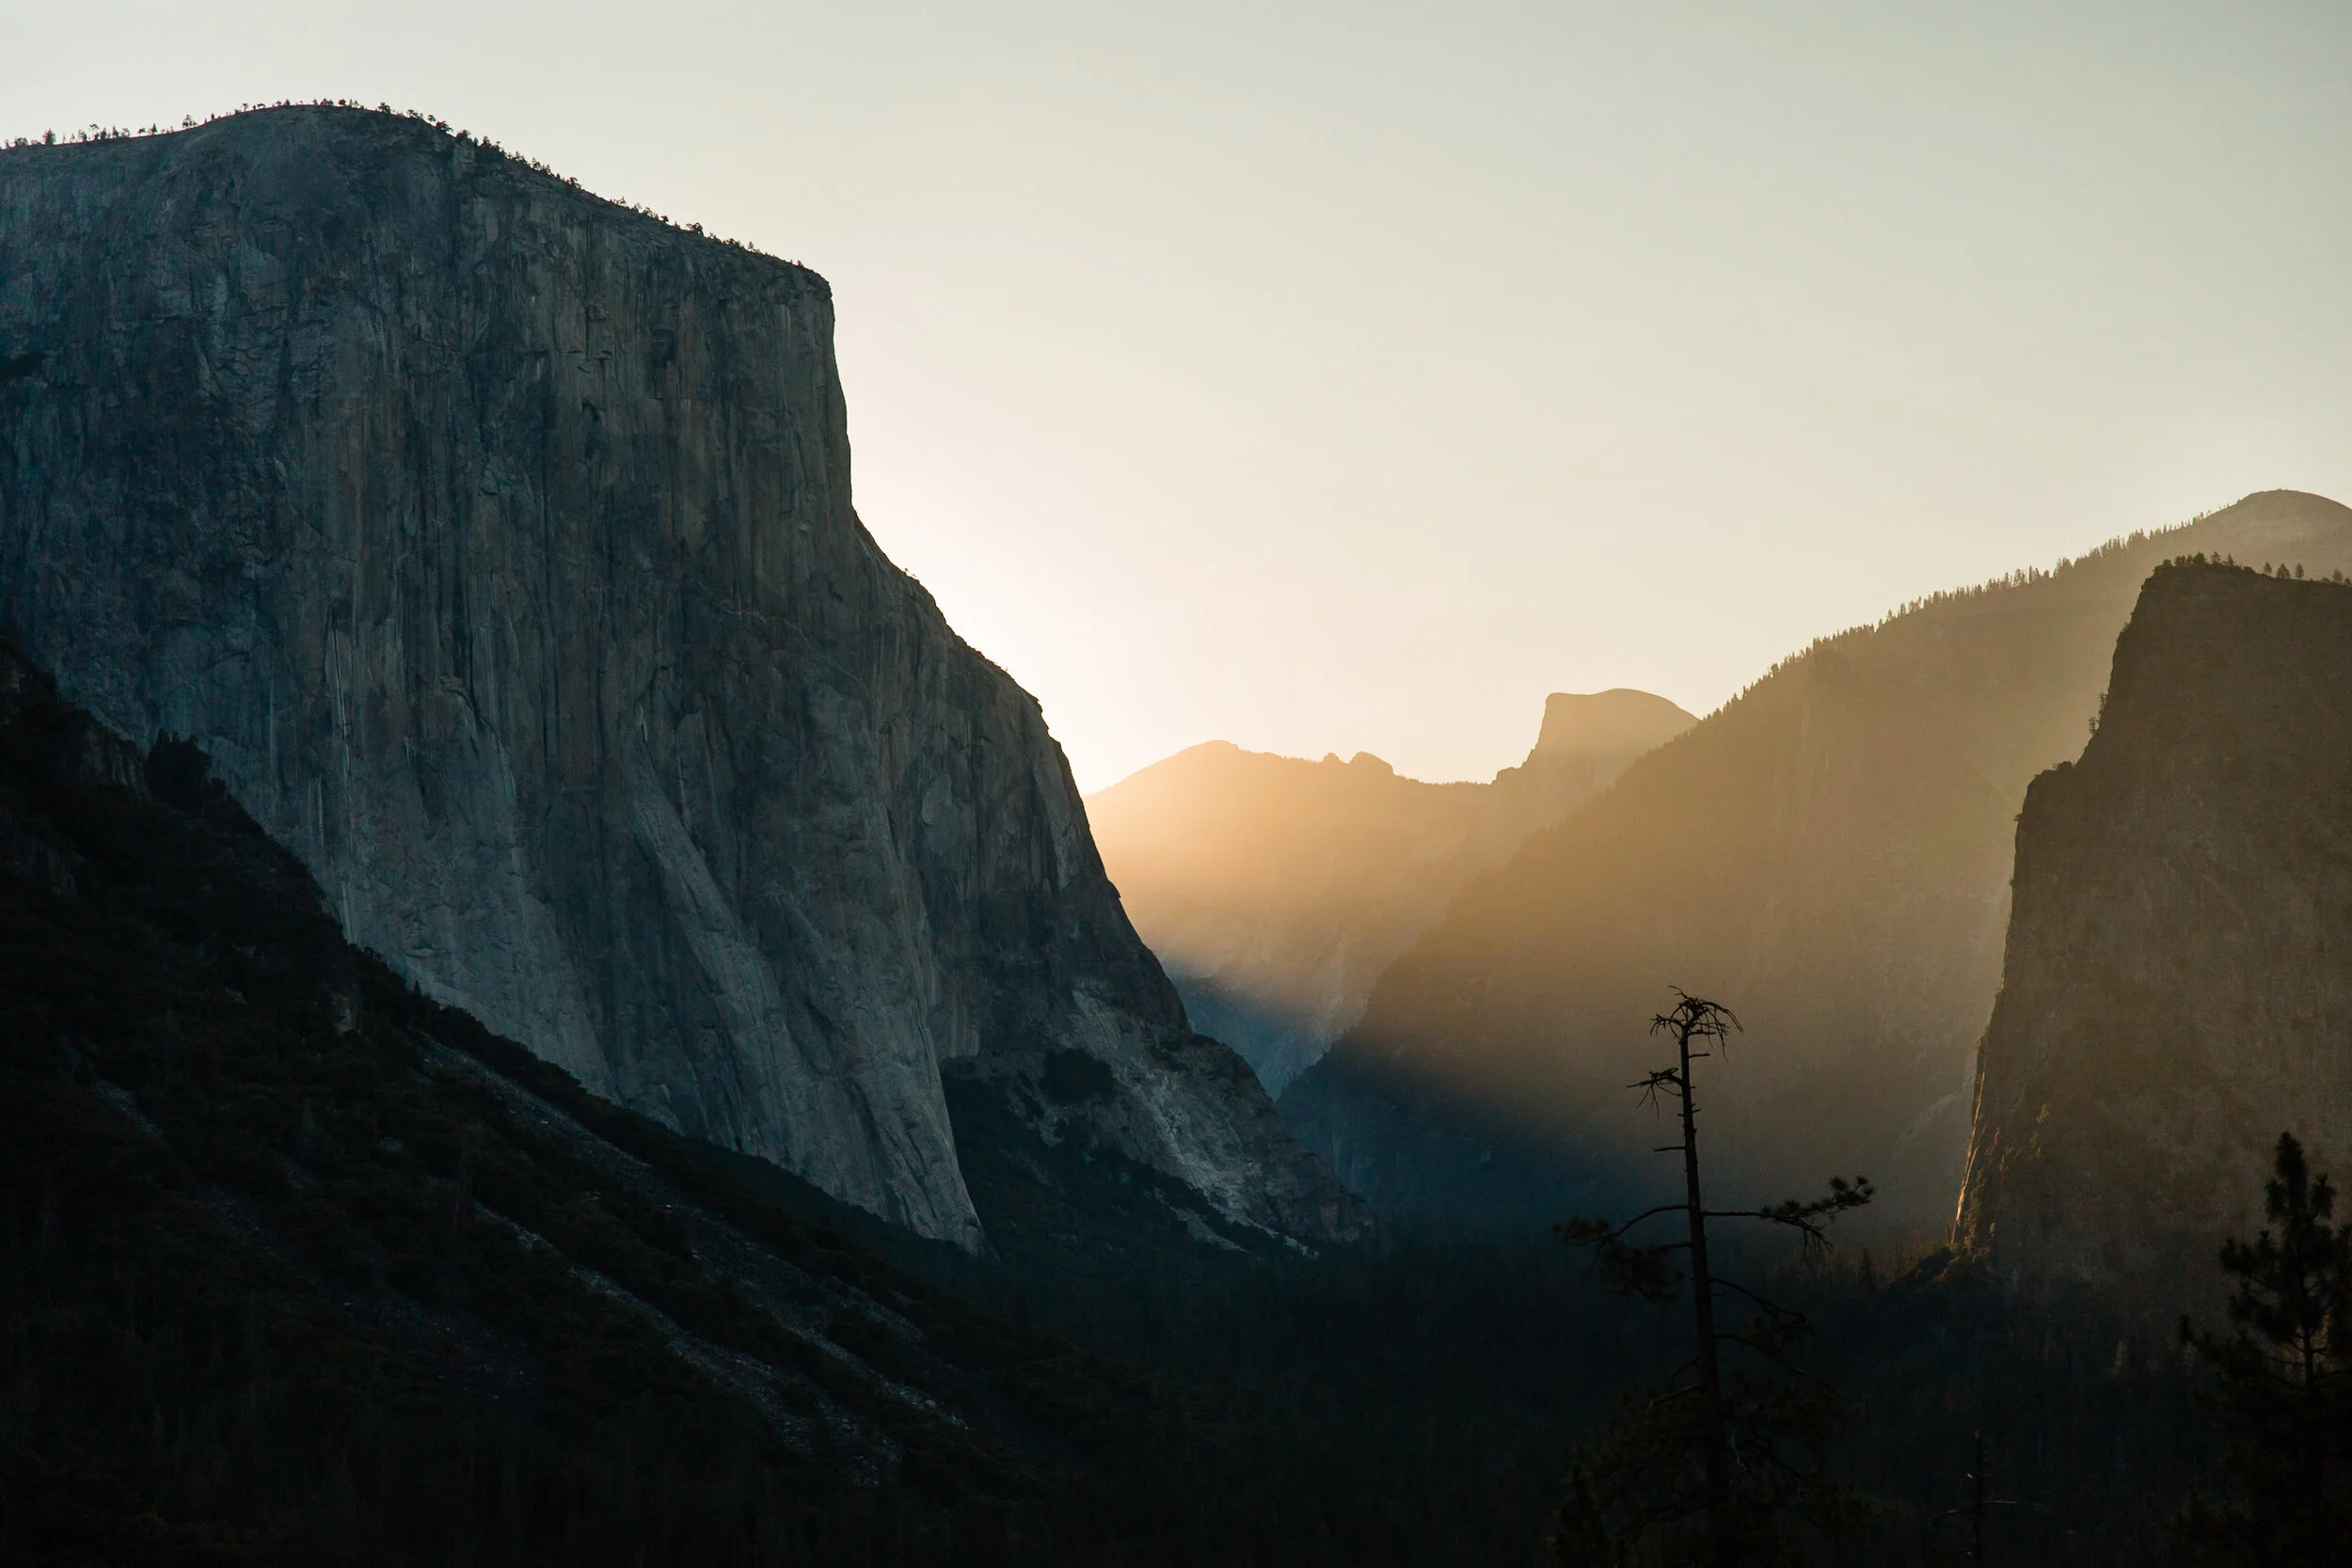
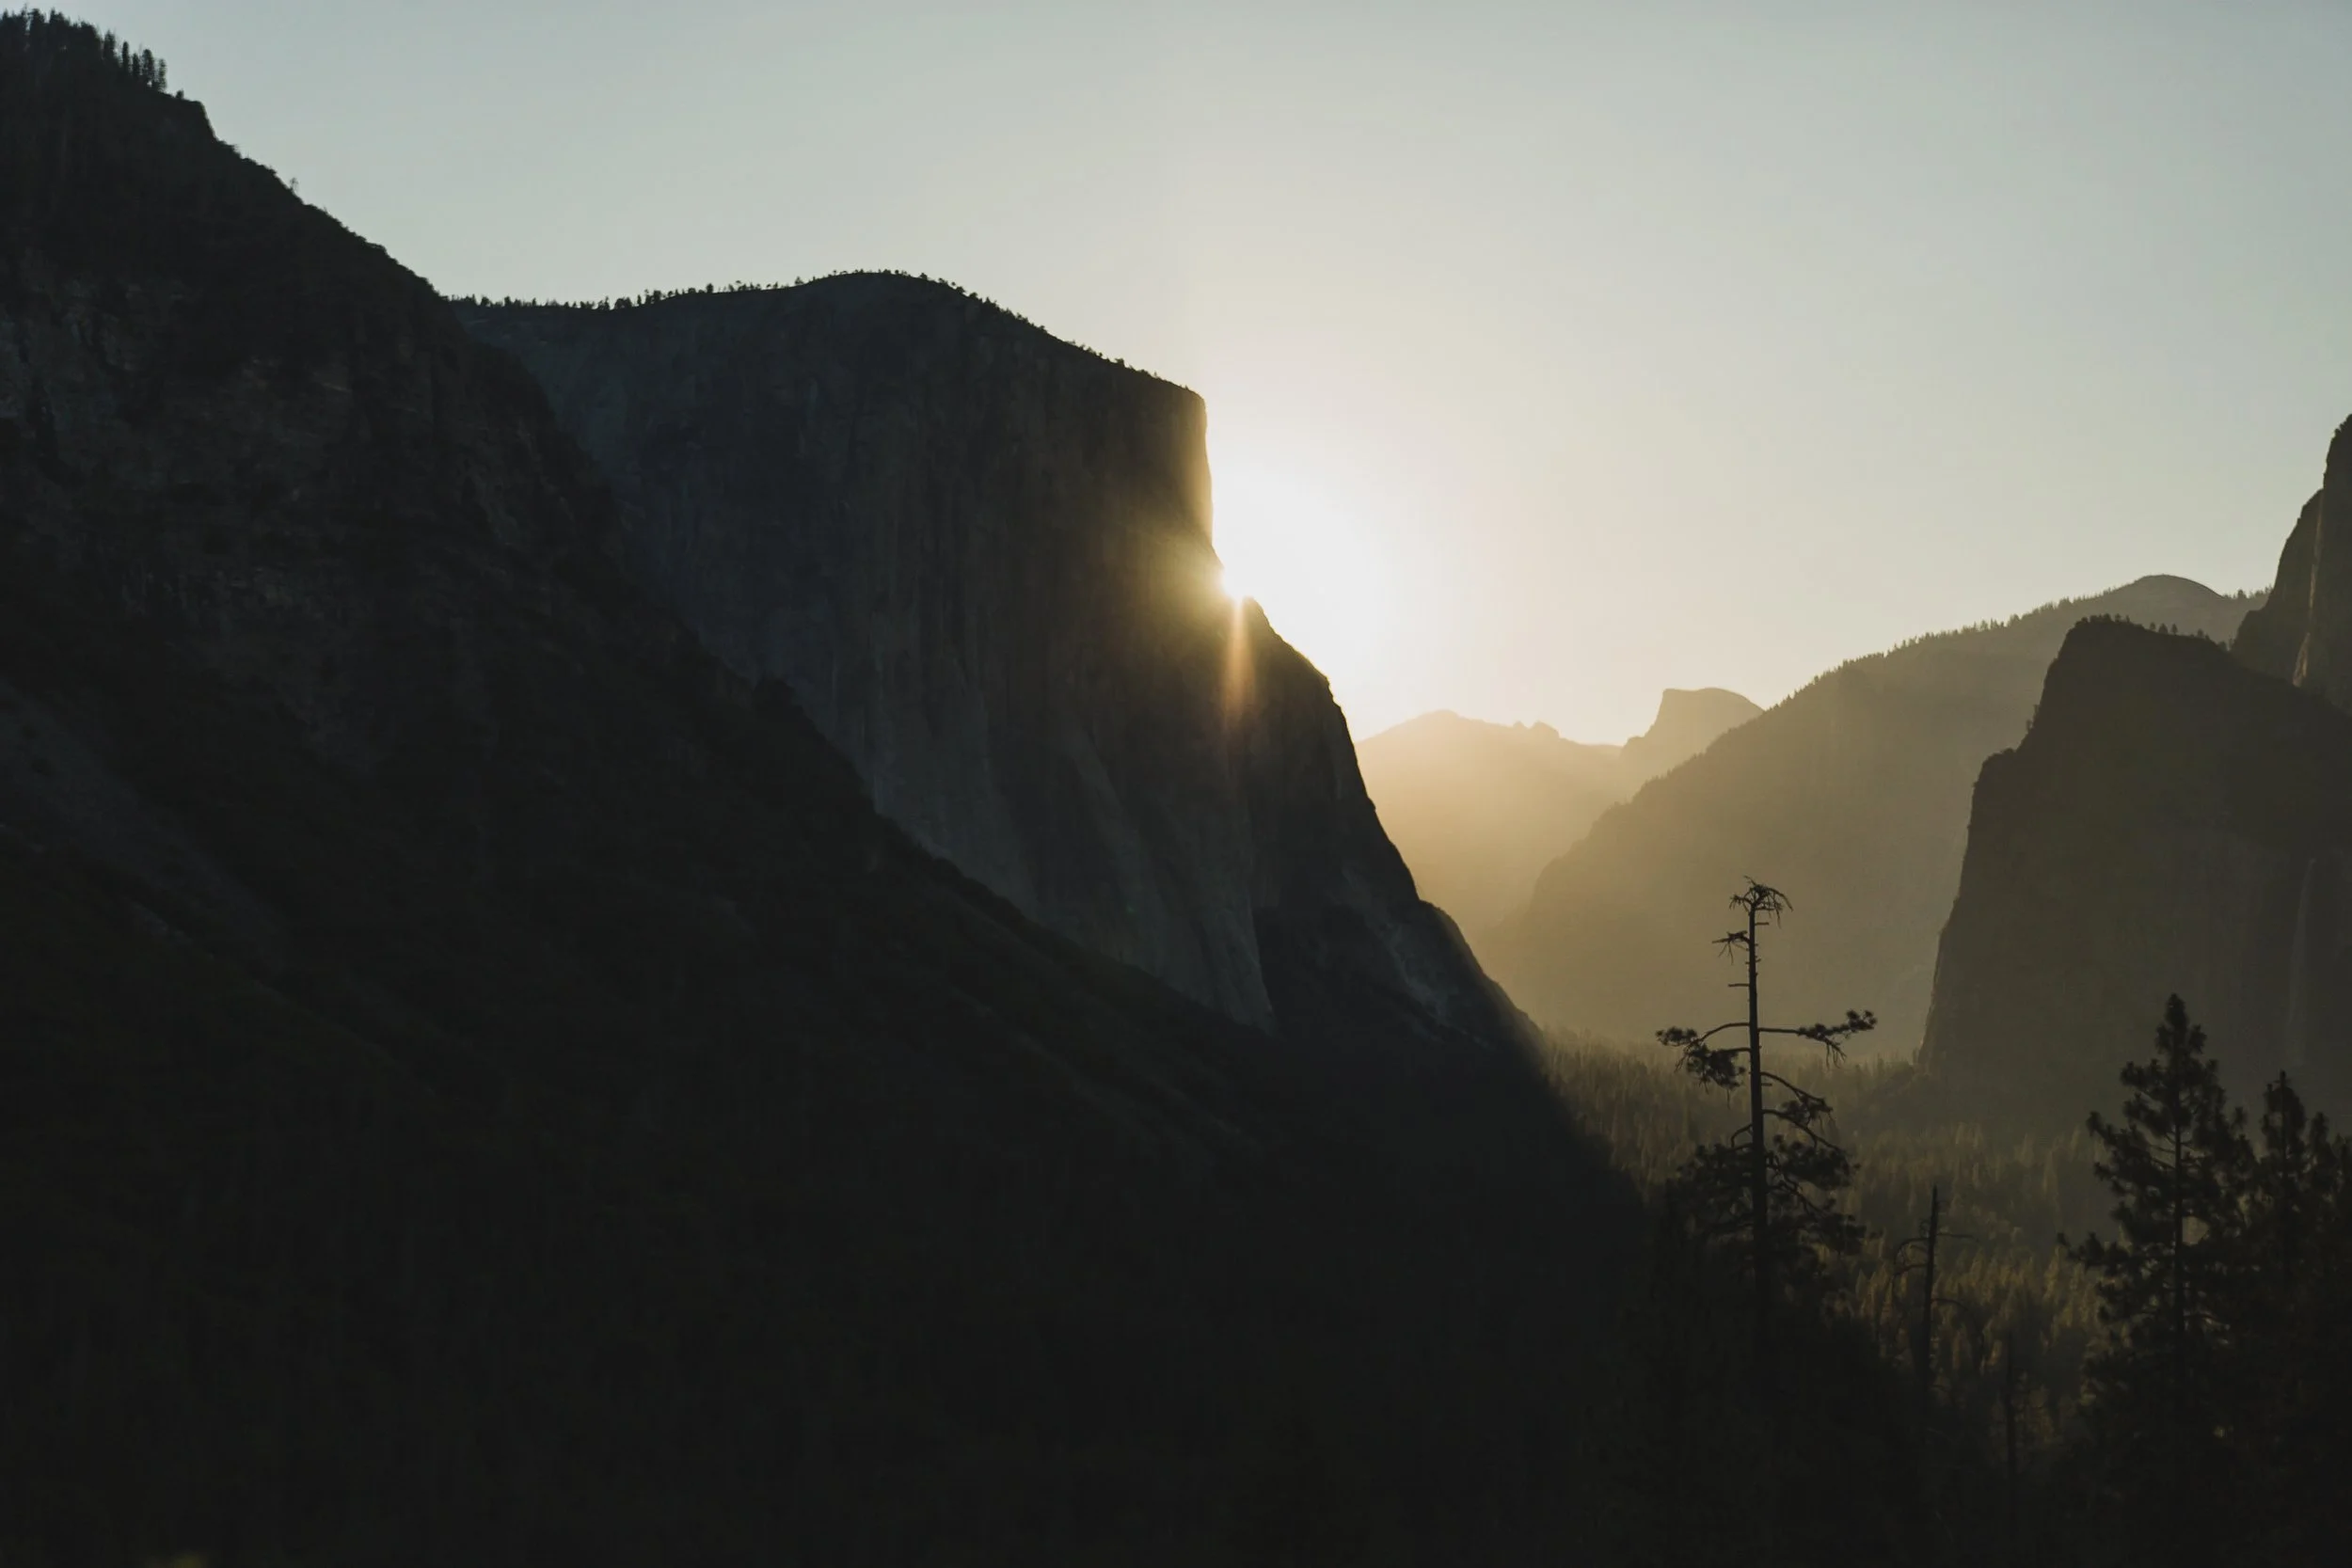
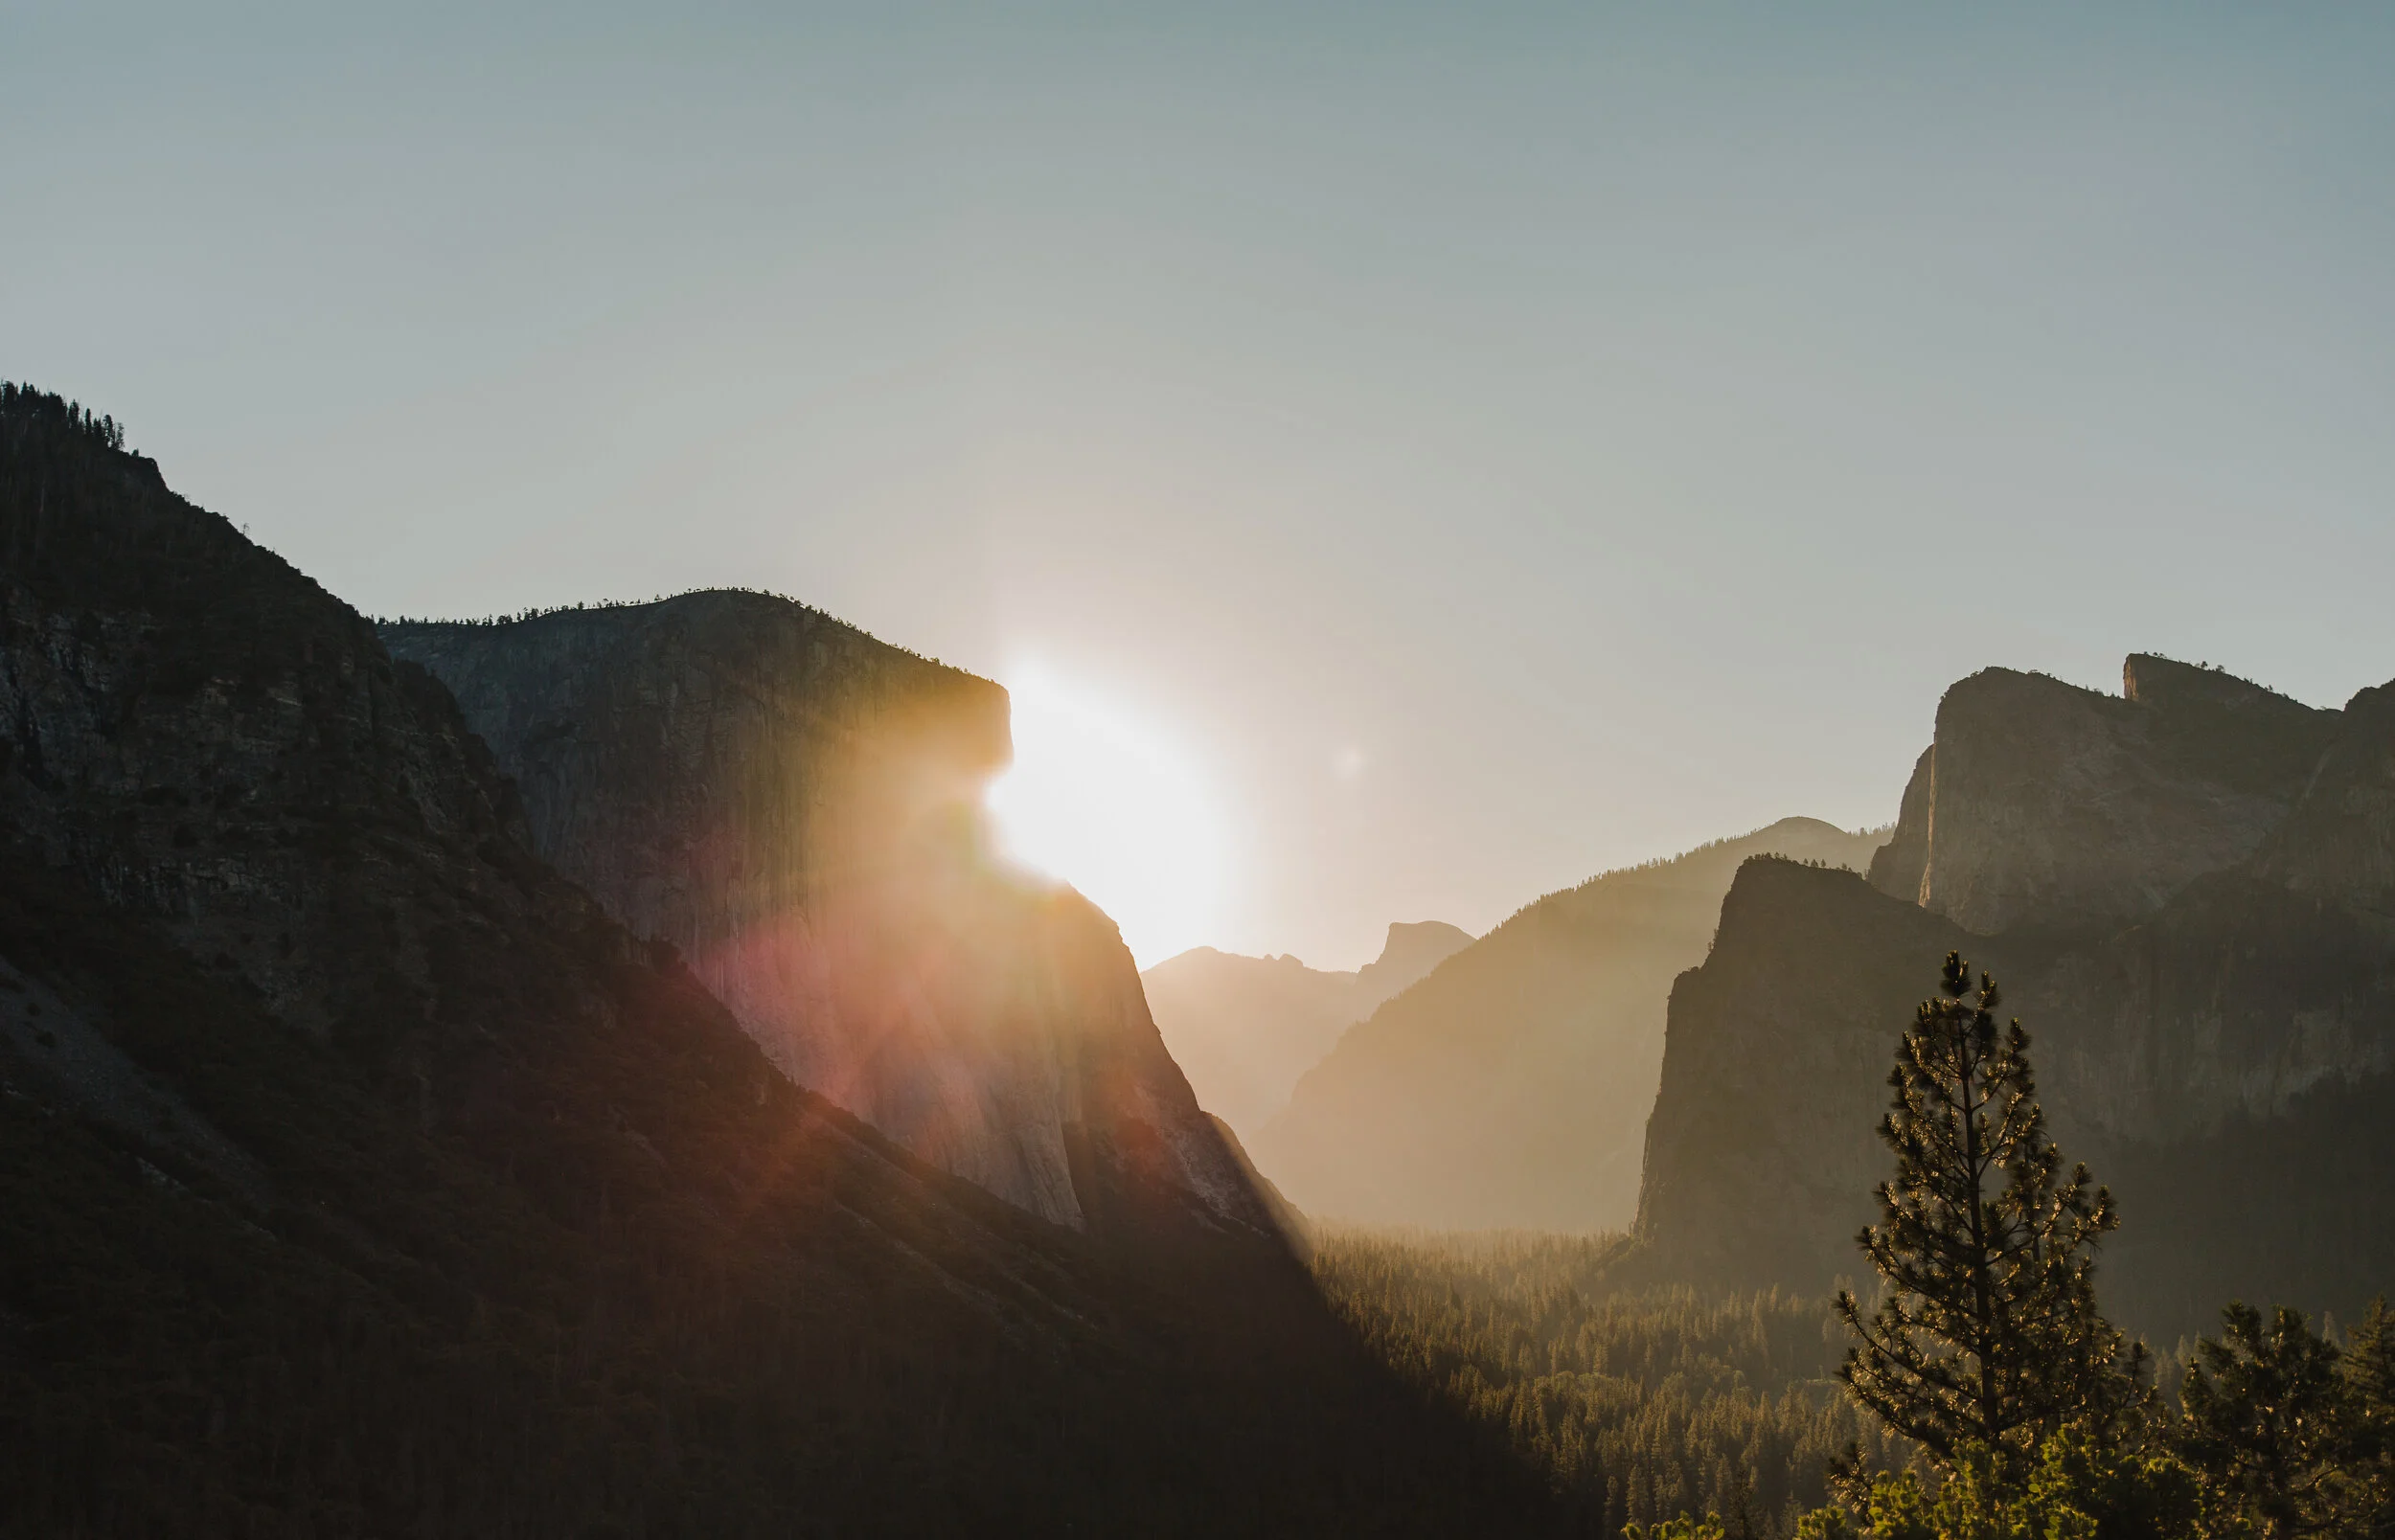
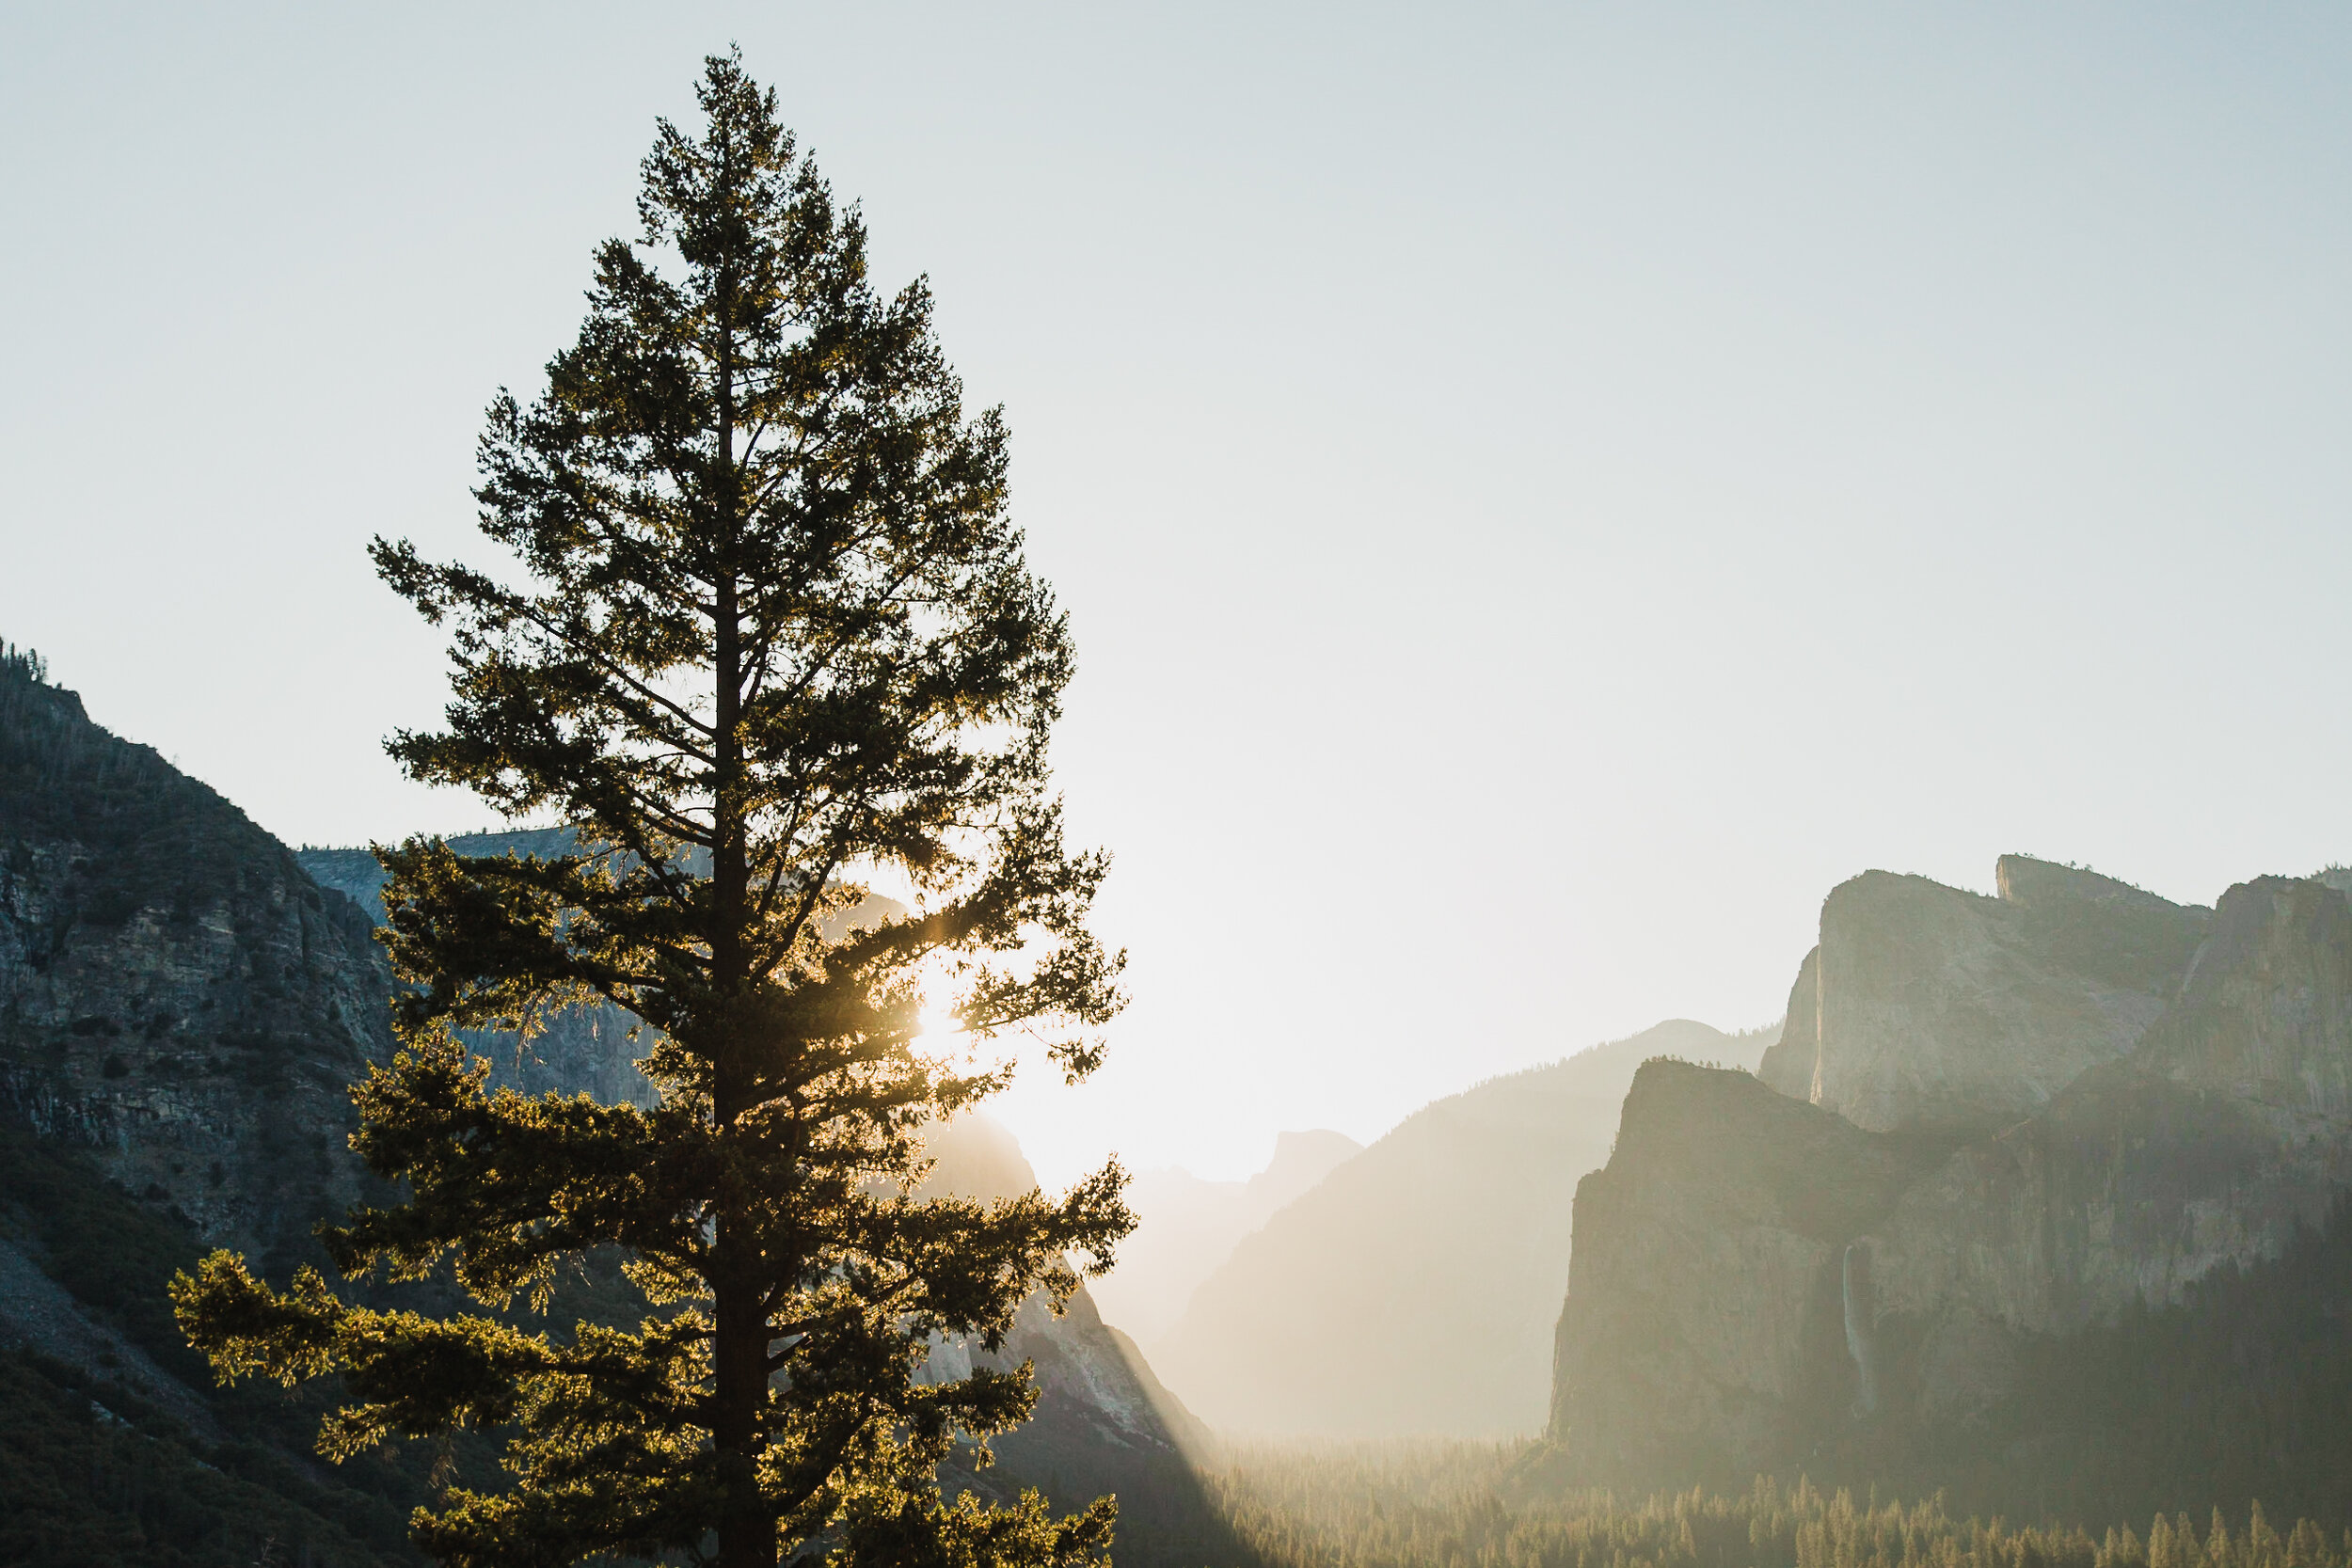
While a majority of my favorite photos are taken during sunrise/sunset, I love exploring harsh shadows and blue hour (the hour after golden hour). You can even stay up and watch the stars come out and practice astrophotography! For those jaw dropping sunrise shots, you’ll need to wake up early and plan ahead or not! For instance, I did a sunrise hike to Delicate Arch only to find that the sun was hitting it directly and was not backlighting it. While it was still a cool shot, it wasn’t what I had originally pictured. Another time, I checked the weather, and it was raining. I got to the spot only to be completely fogged out with no view in site. Eventually, my friend and I found a spot to shoot. Even though we didn’t get the golden hour we had hoped for, we were rewarded with something unexpected! If you want those “golden shots”, DONT SNOOZE YOUR ALARM, check the weather app. and give yourself plenty of time to get to the location. When you get to where you are shooting look for “sun flare” I put my camera viewfinder up to my eye and point my camera around looking for the light.
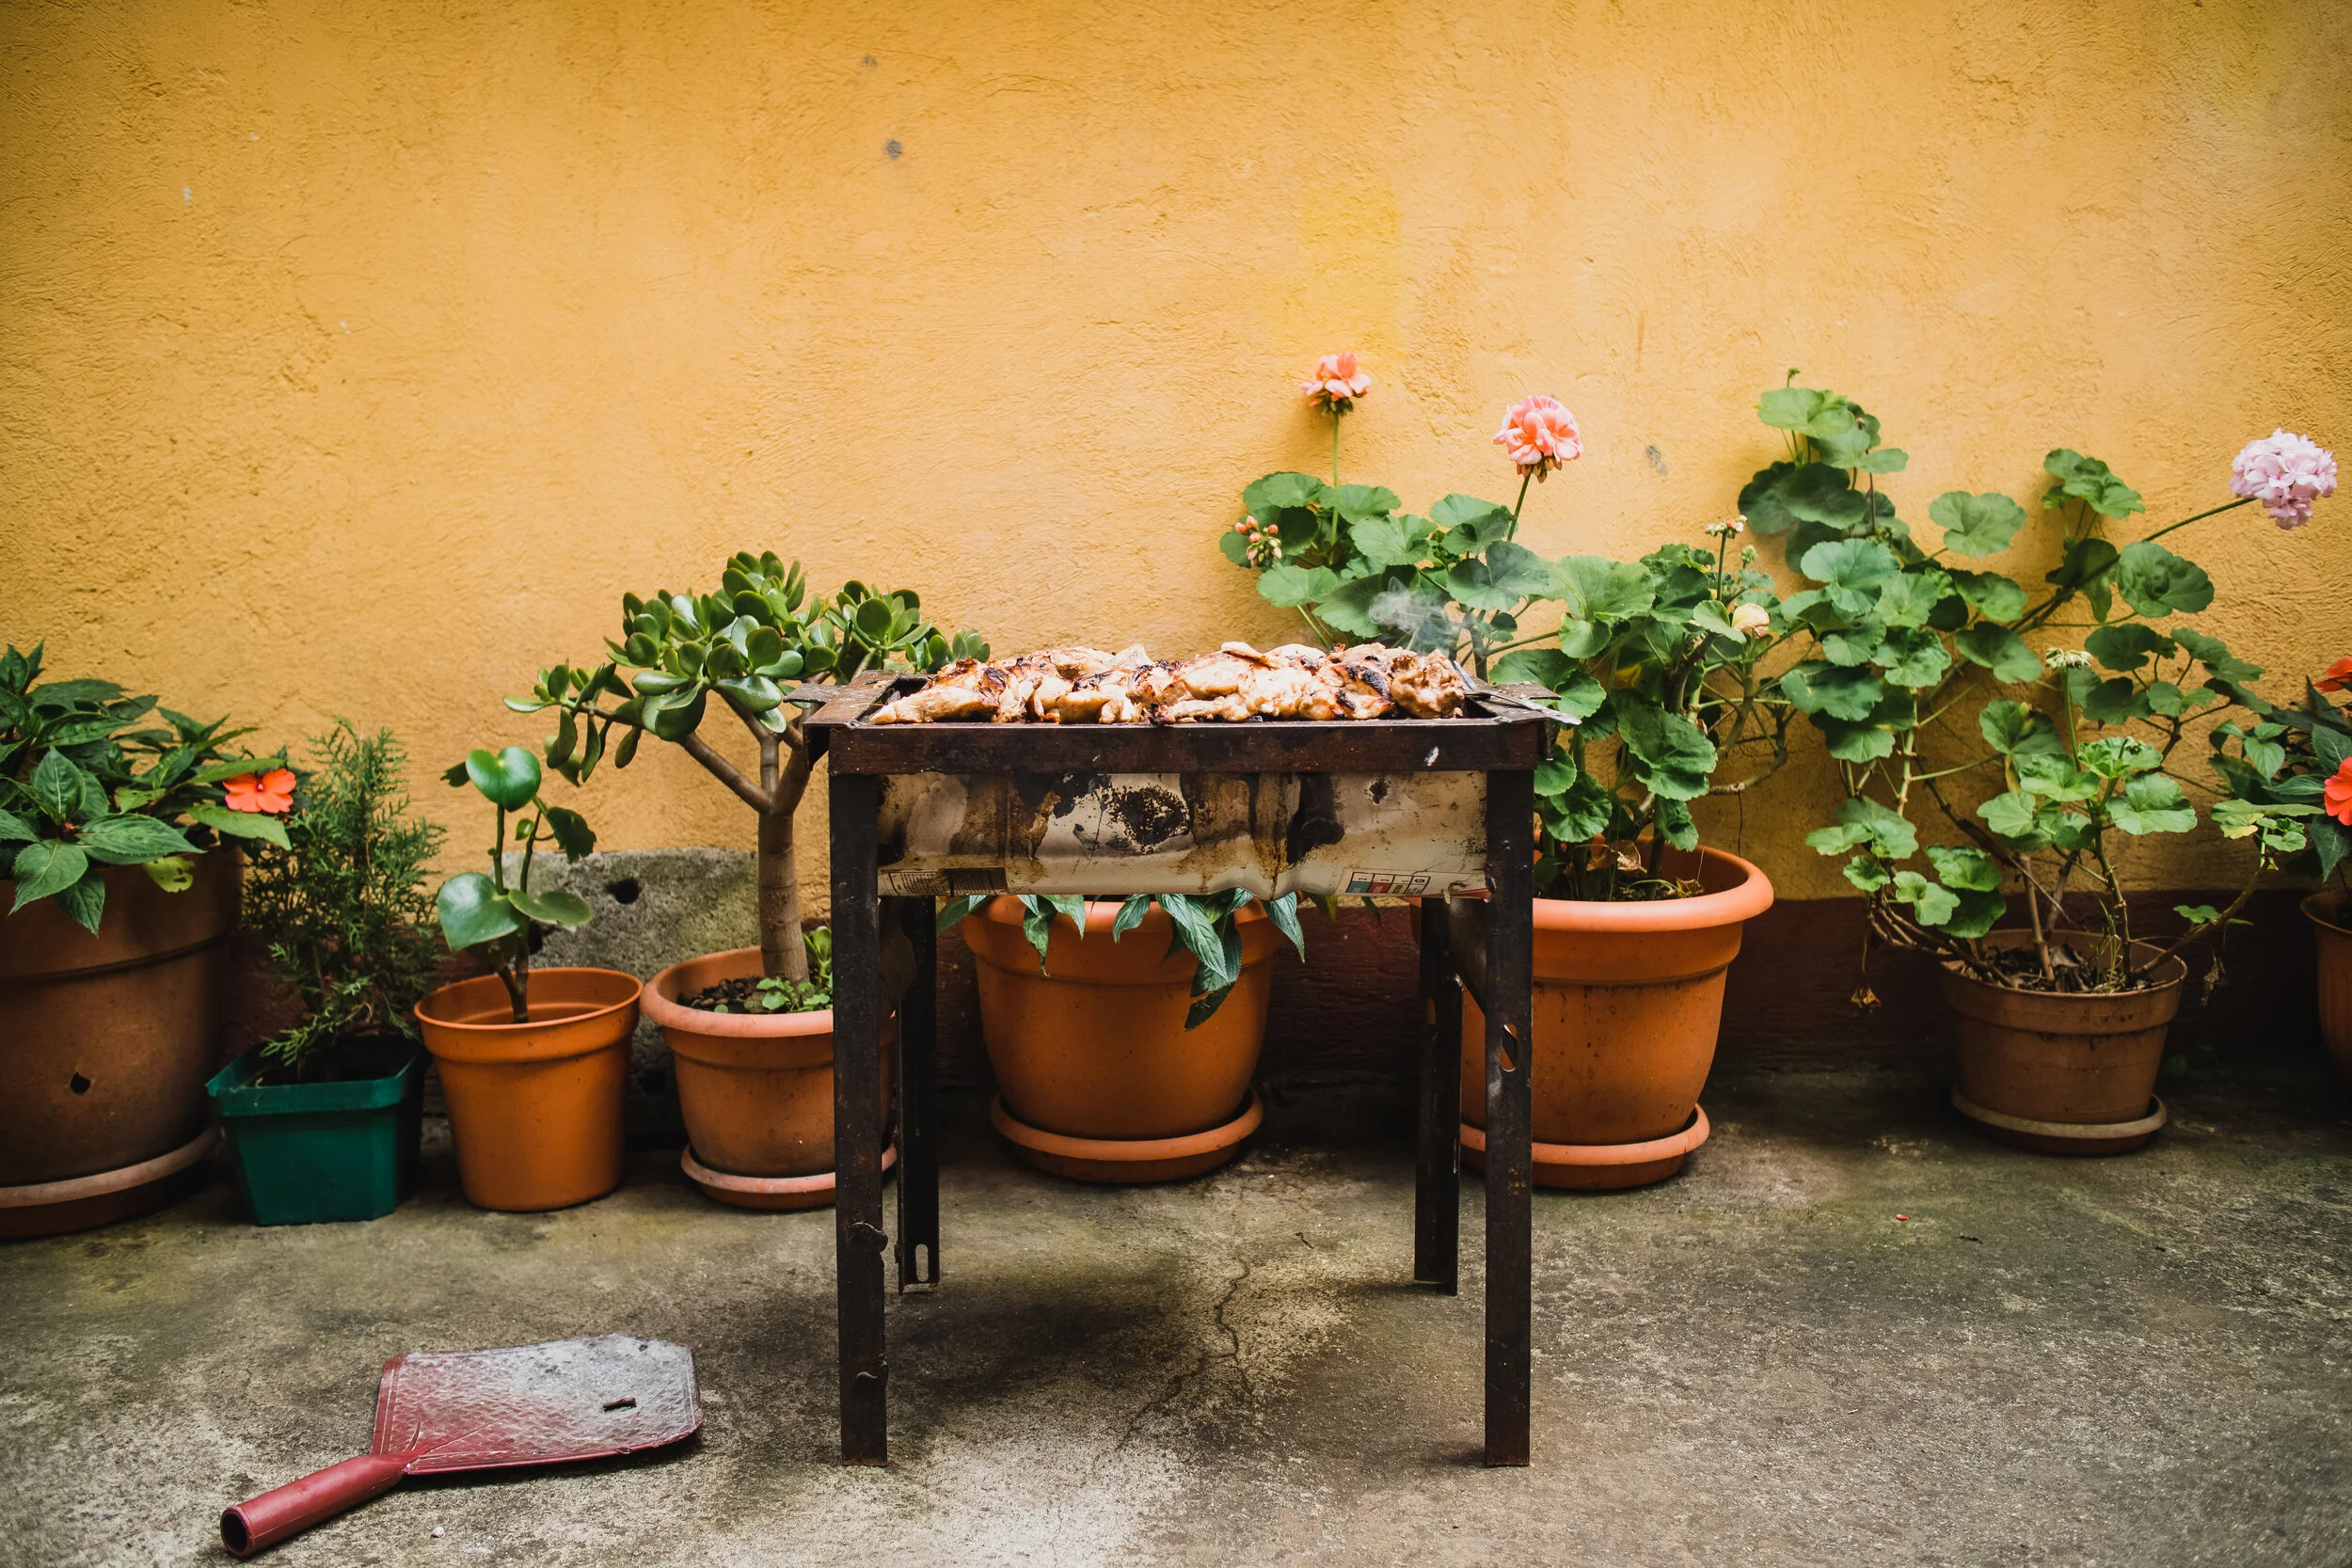
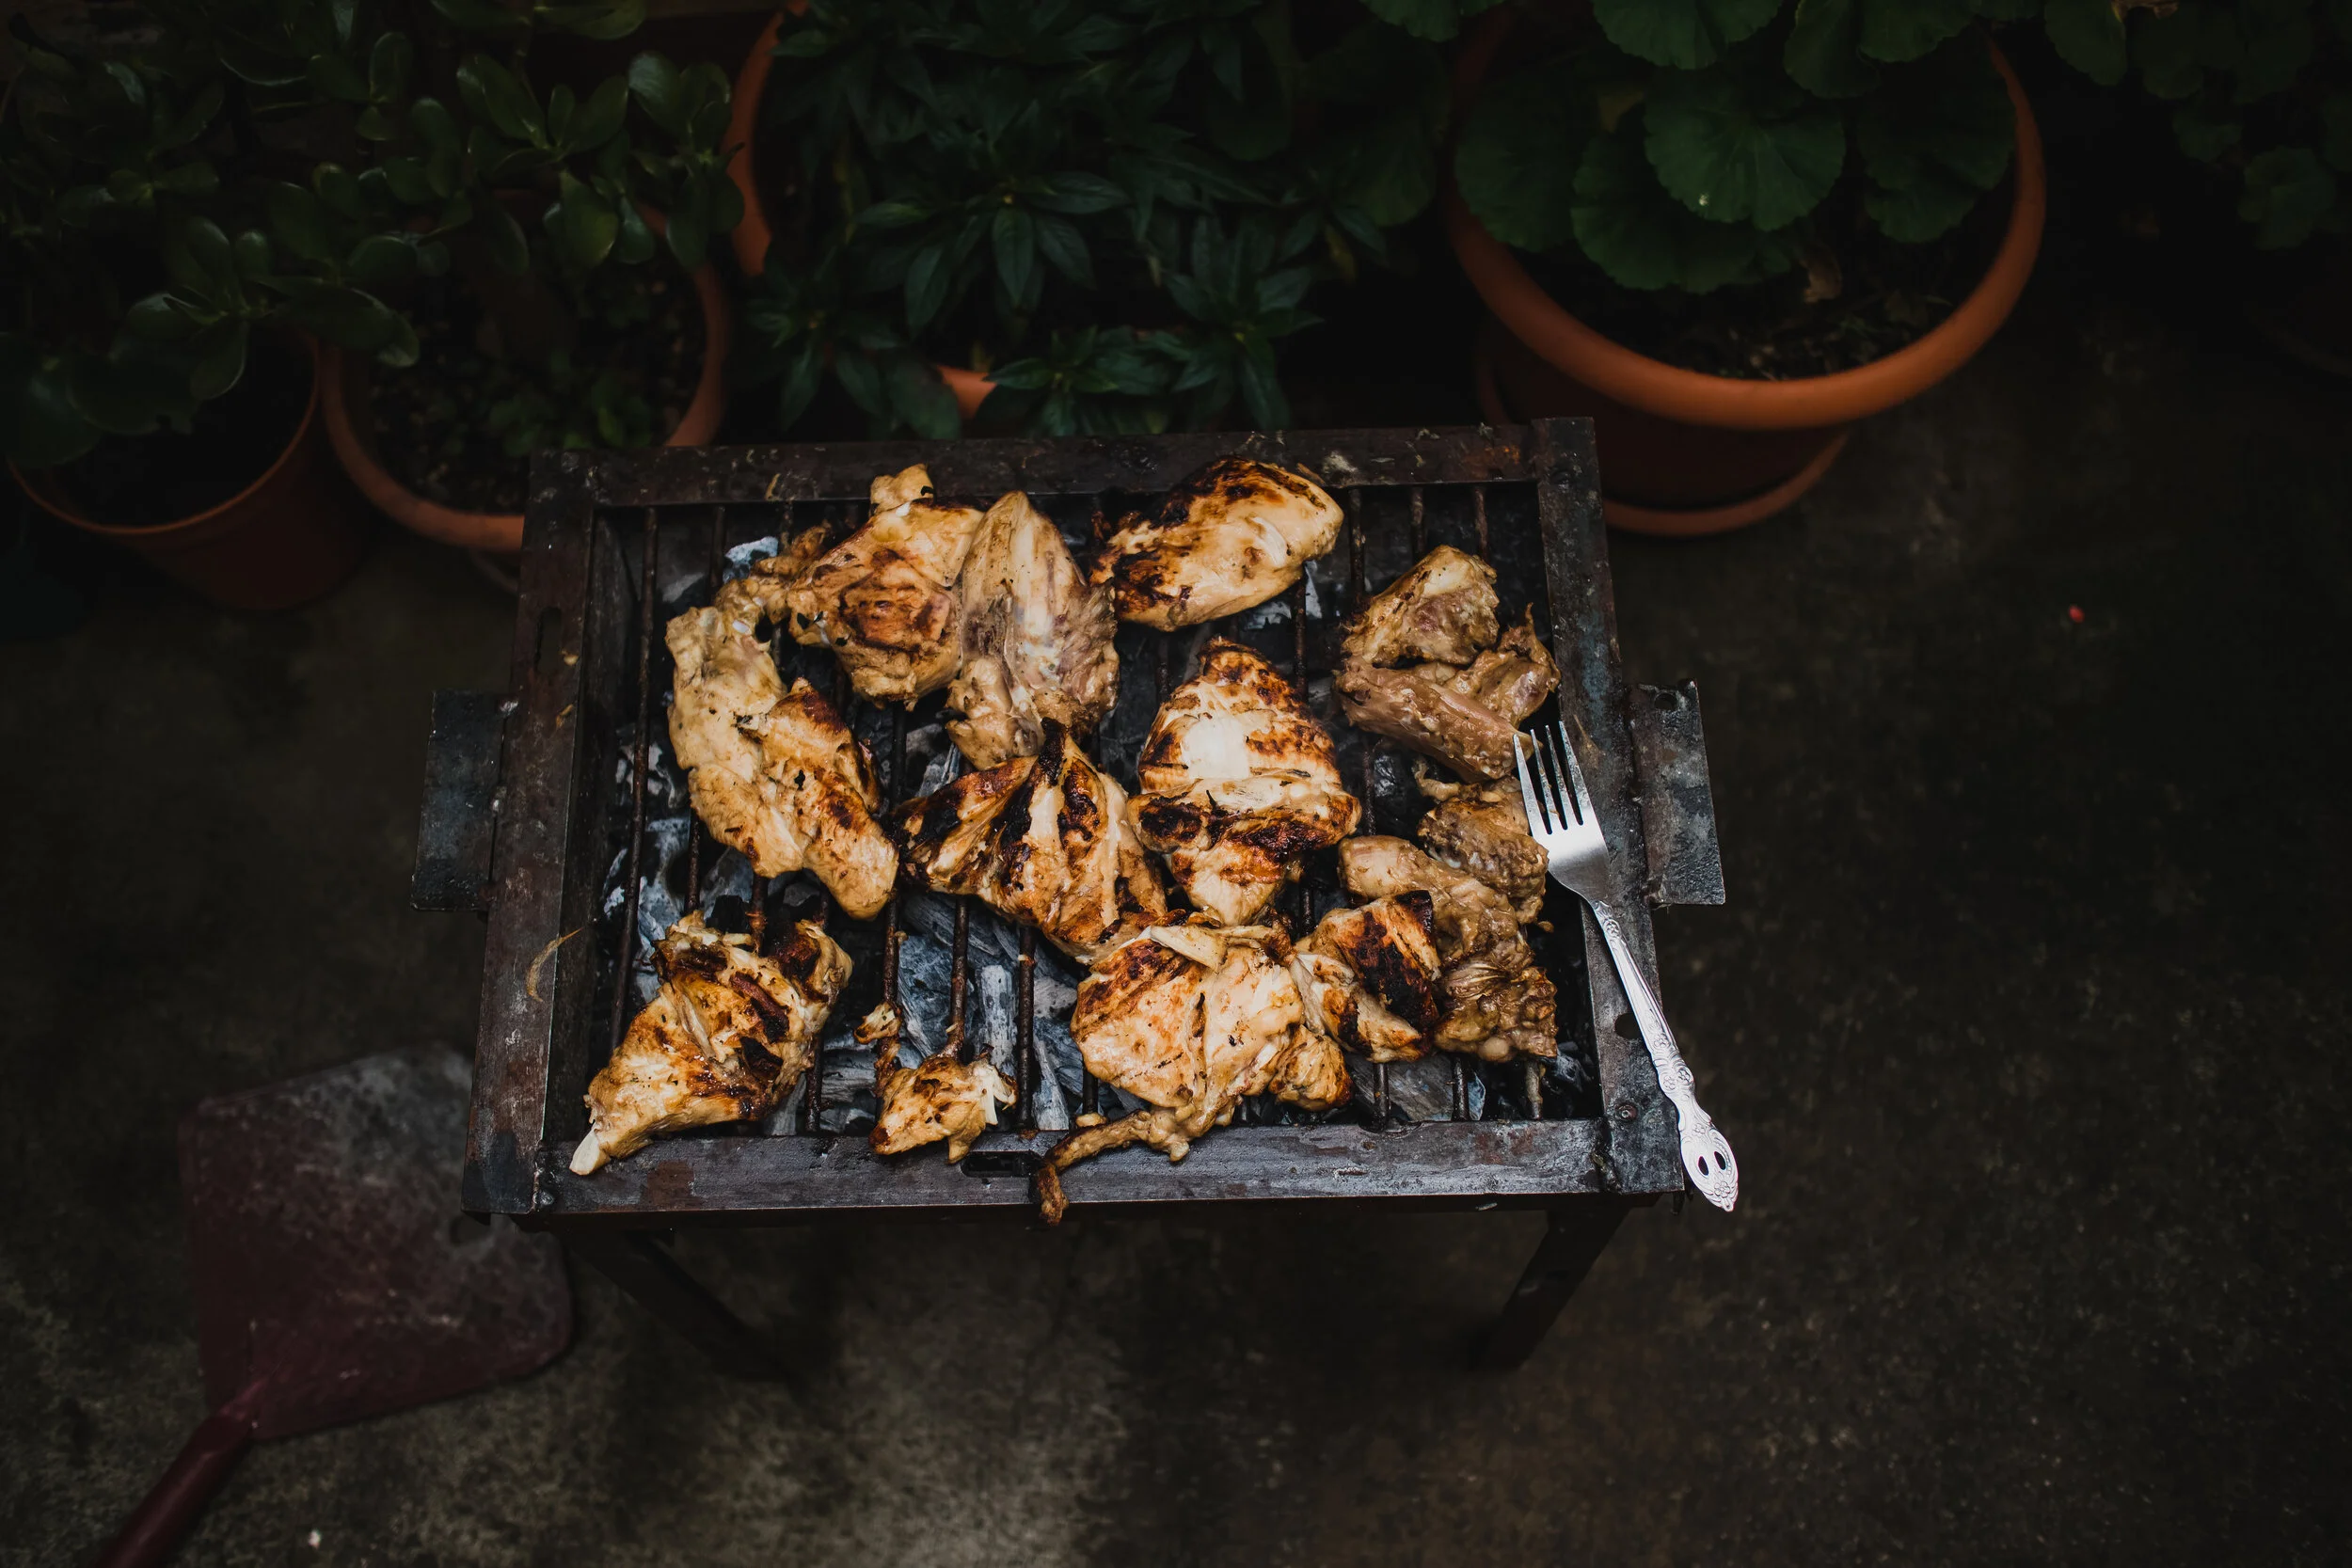
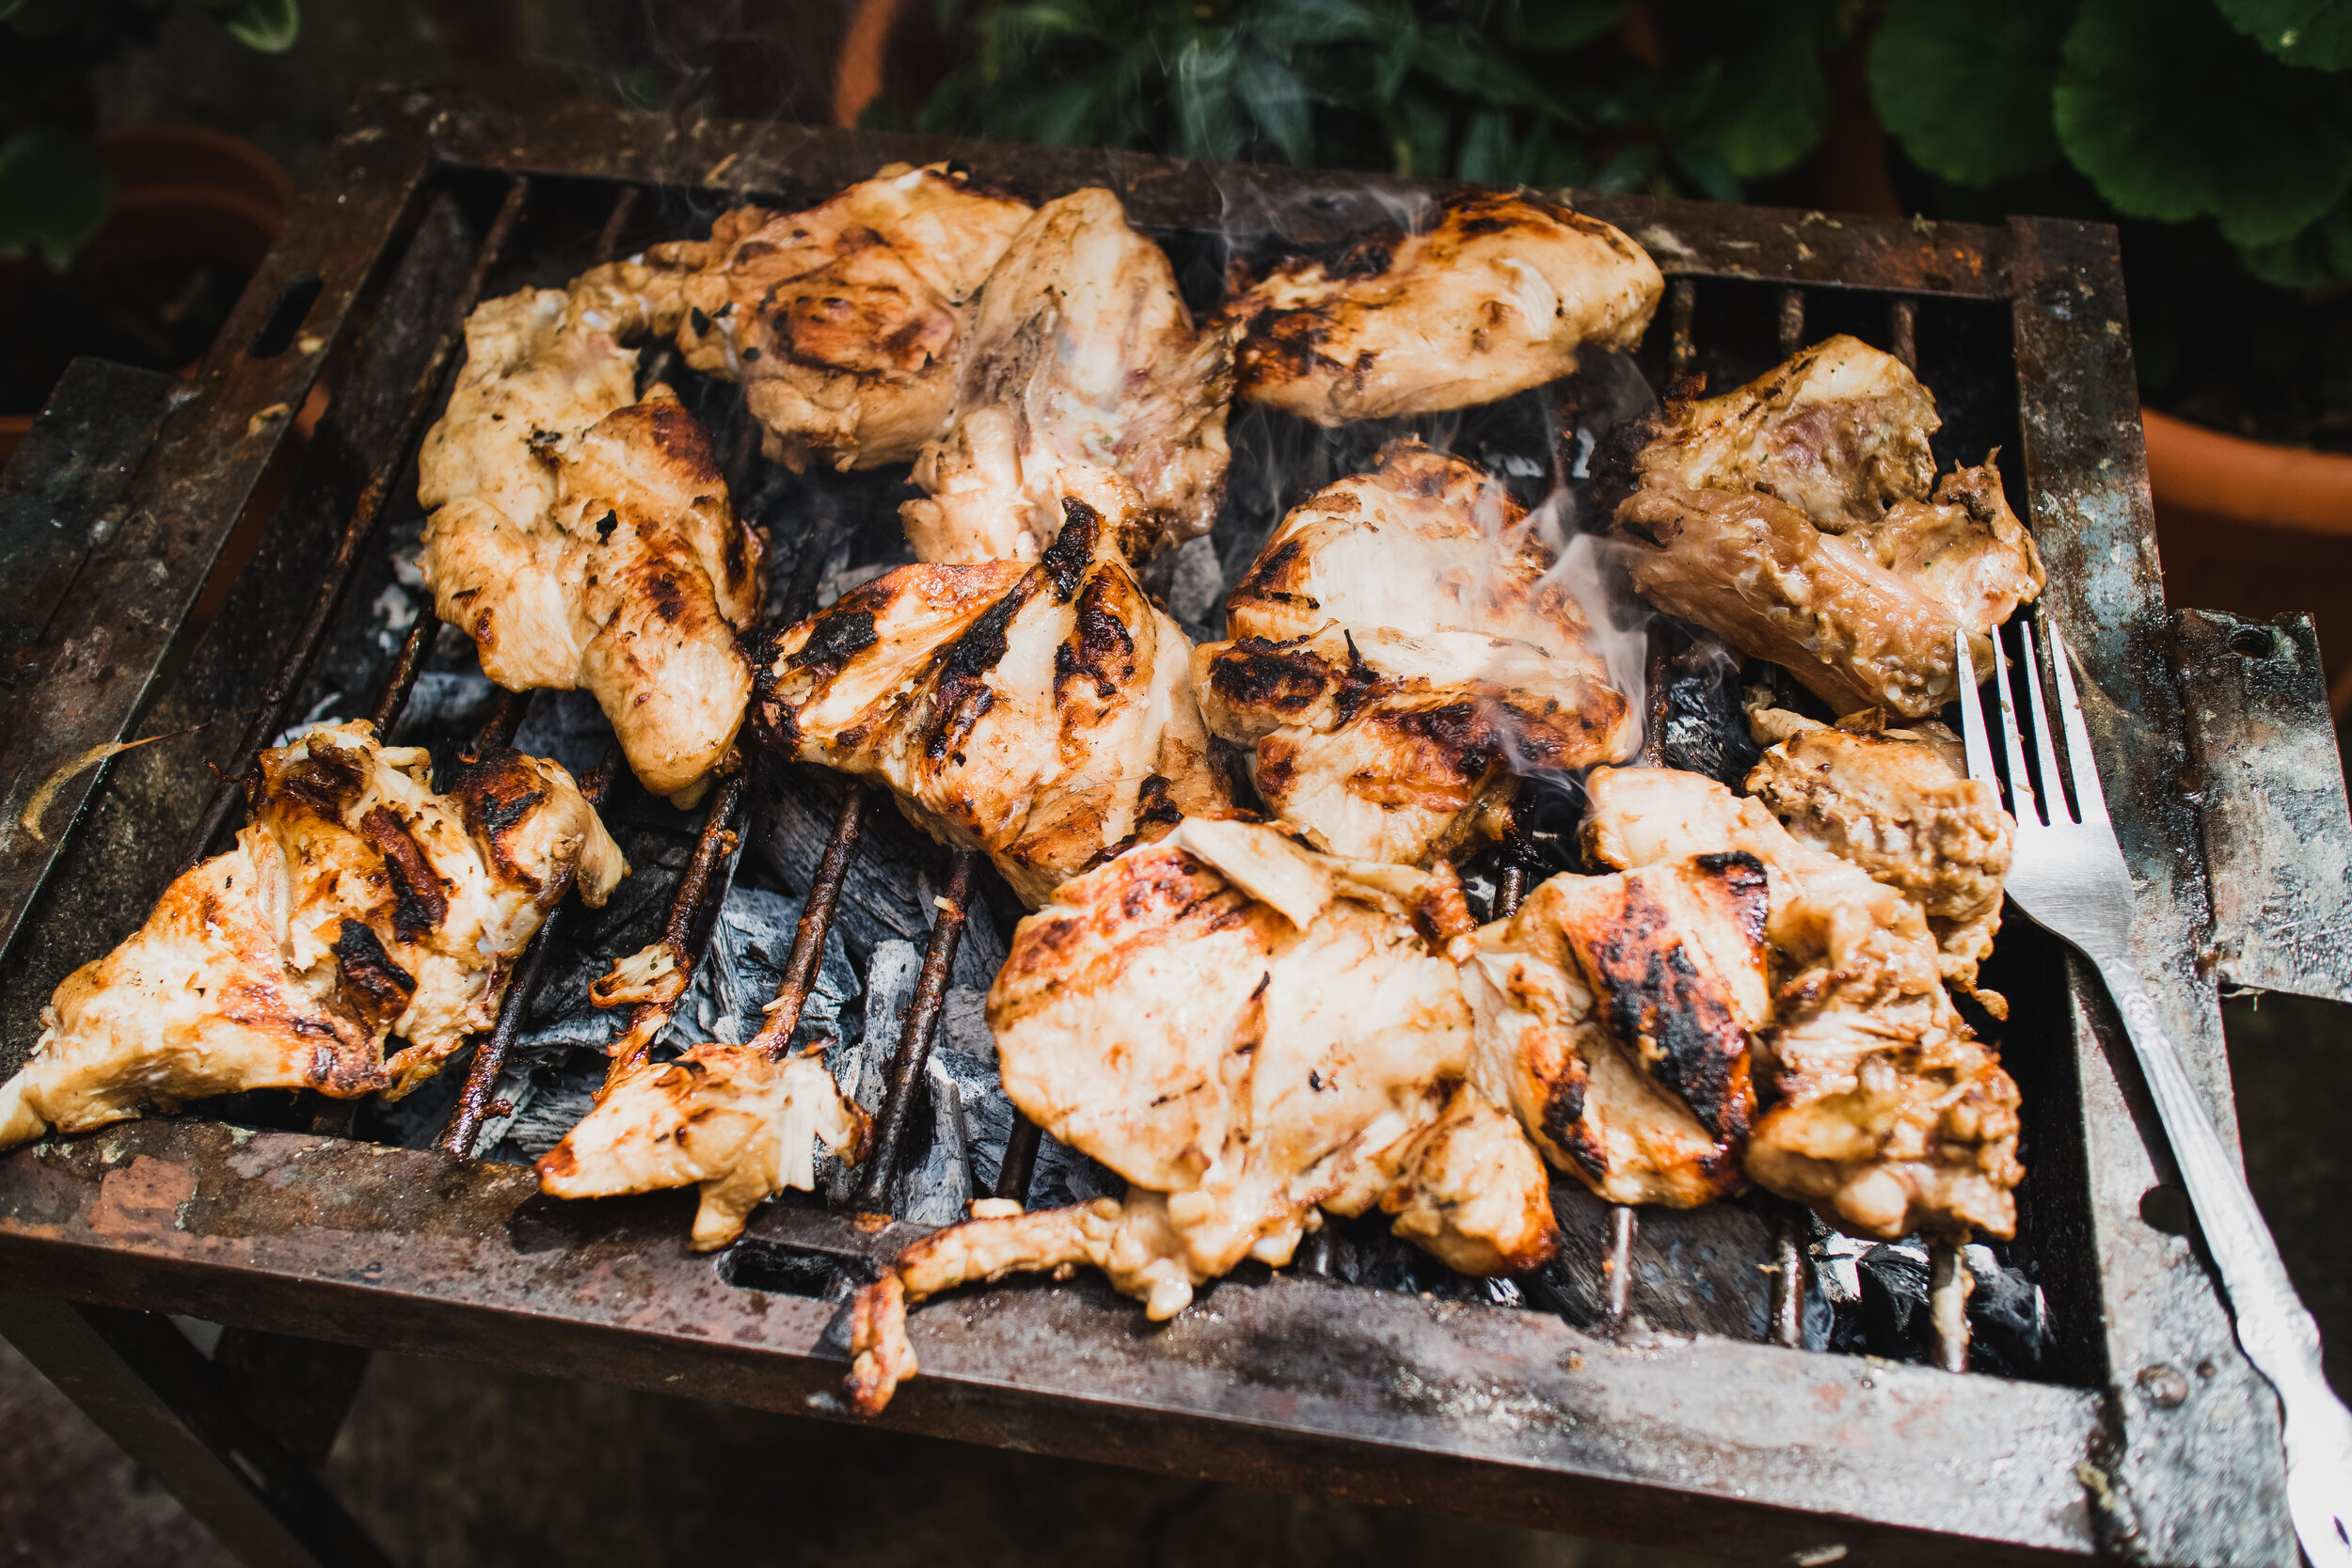
In the following images I demonstrate how quickly the light changes in a matter of minutes. All were shot just seconds apart.
To sum it up, I look for interesting ways that the light is hitting and photograph that.
Tip #3: Capture Those Details
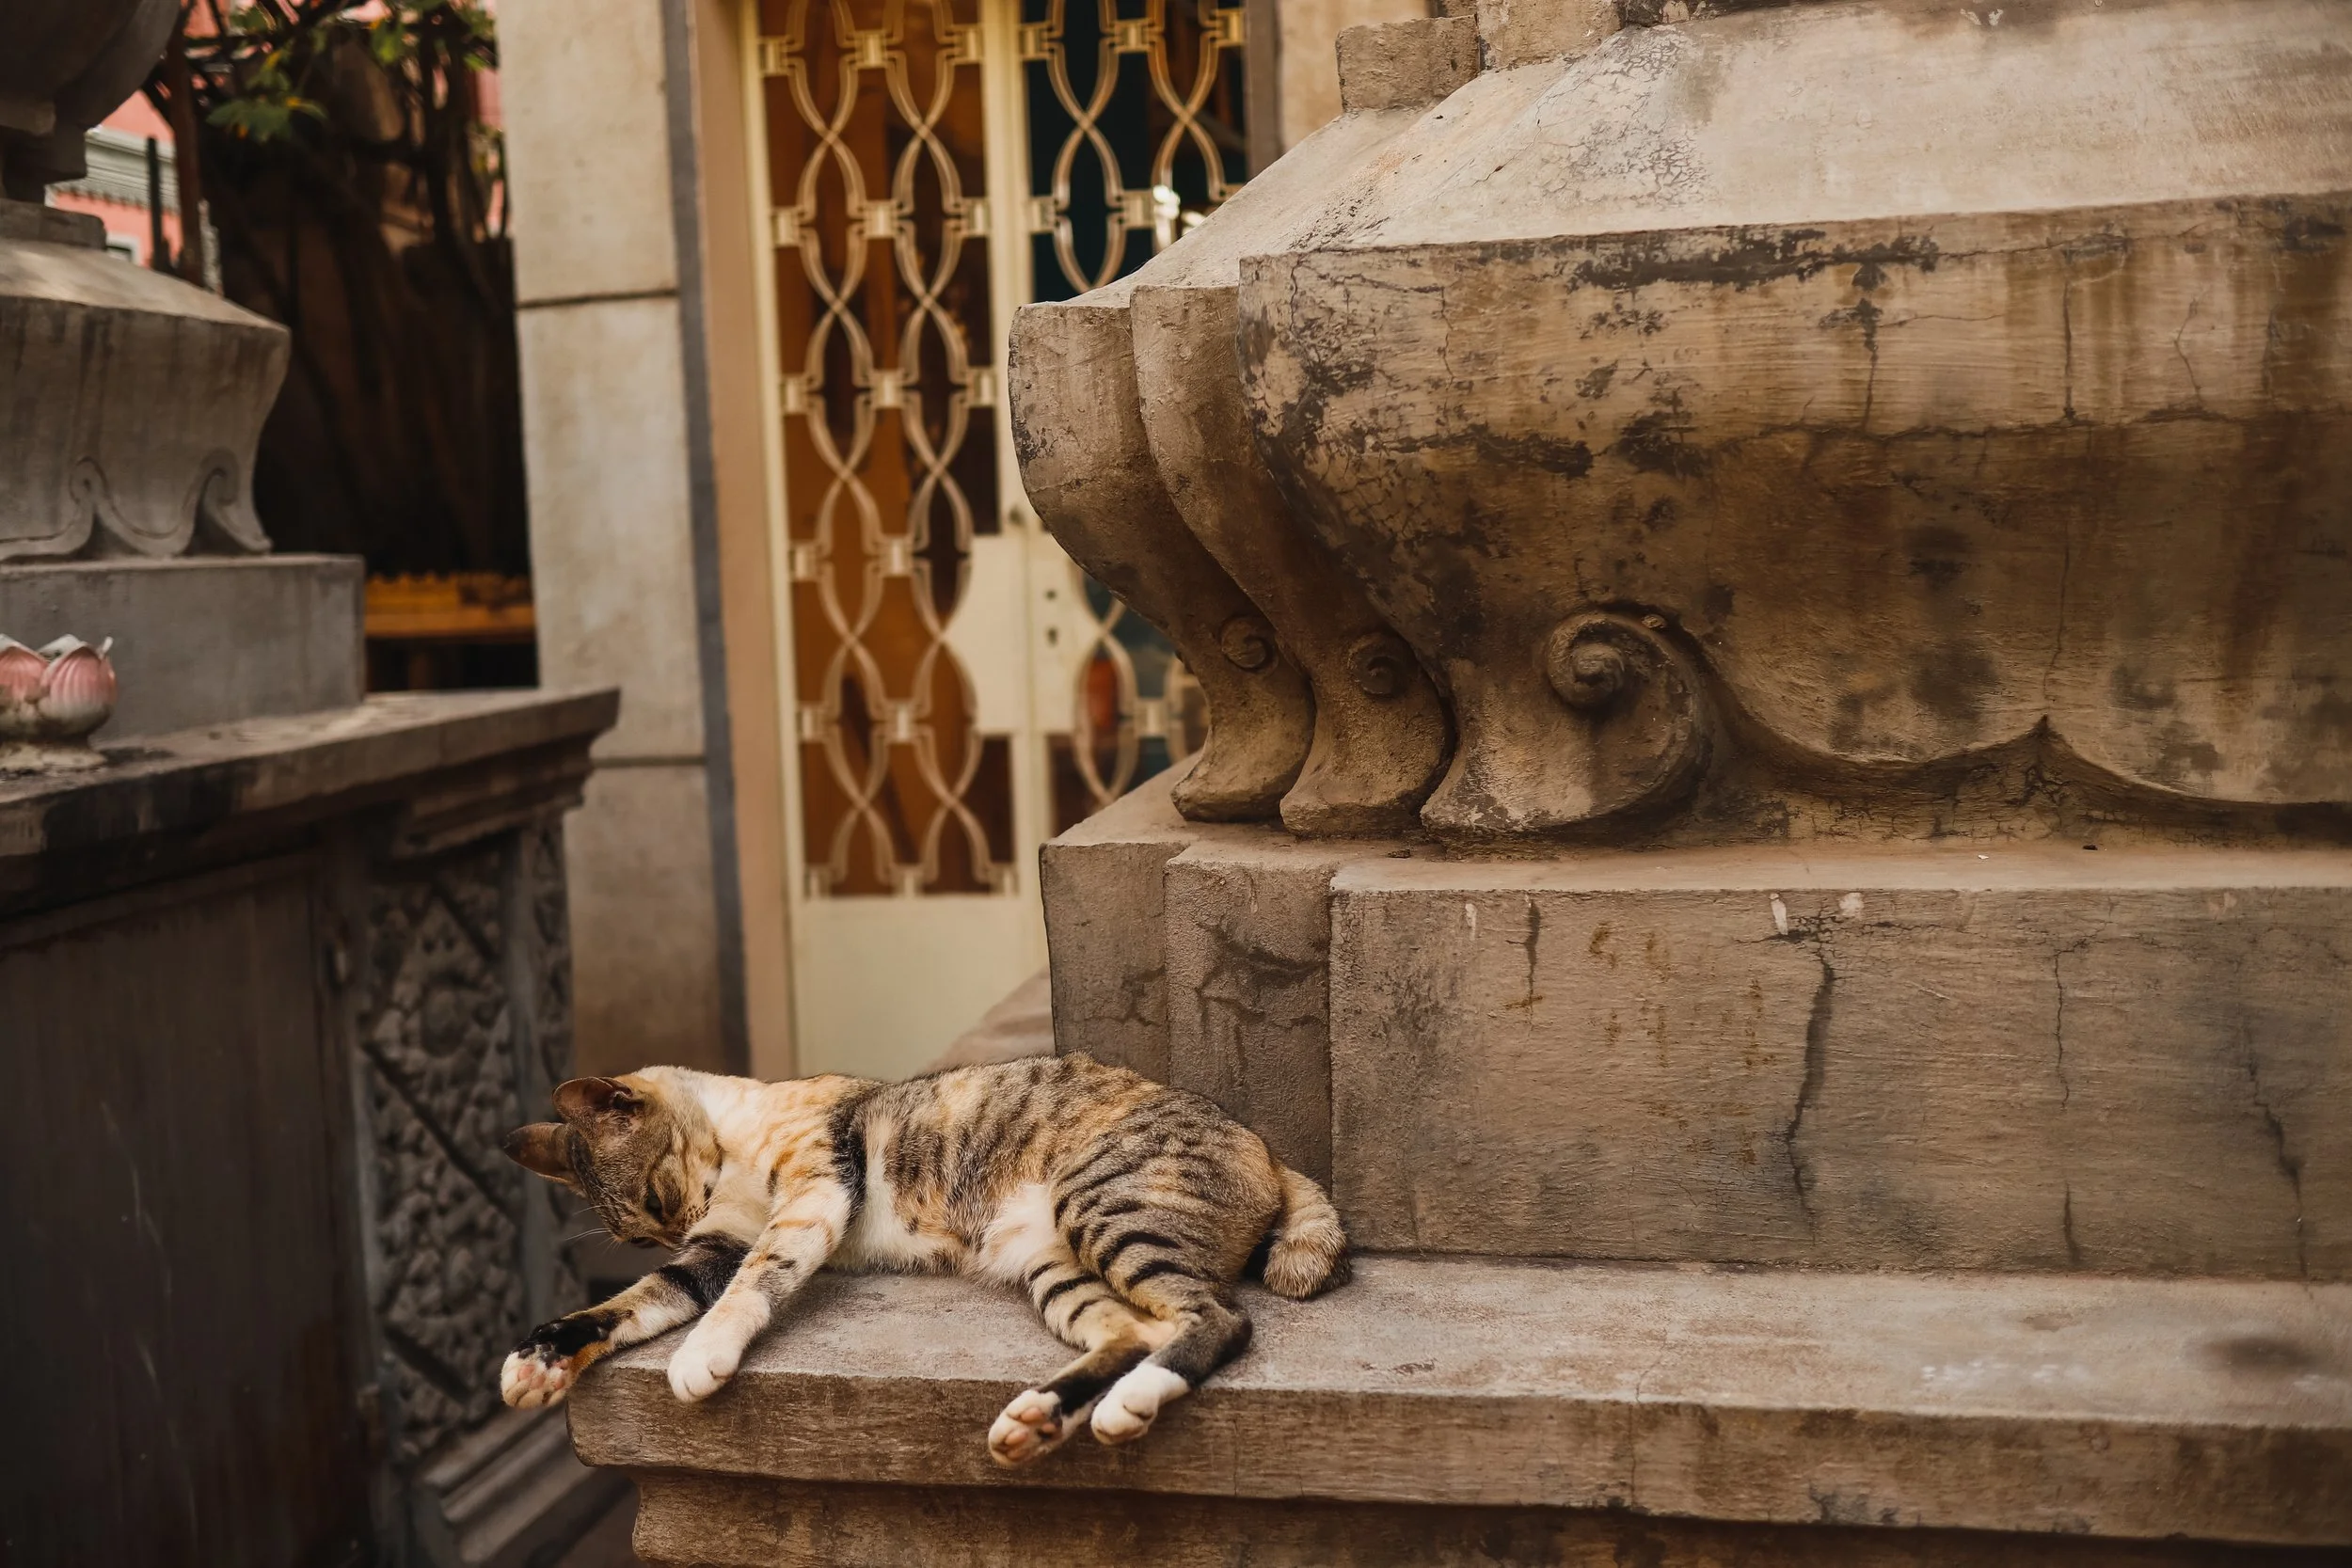
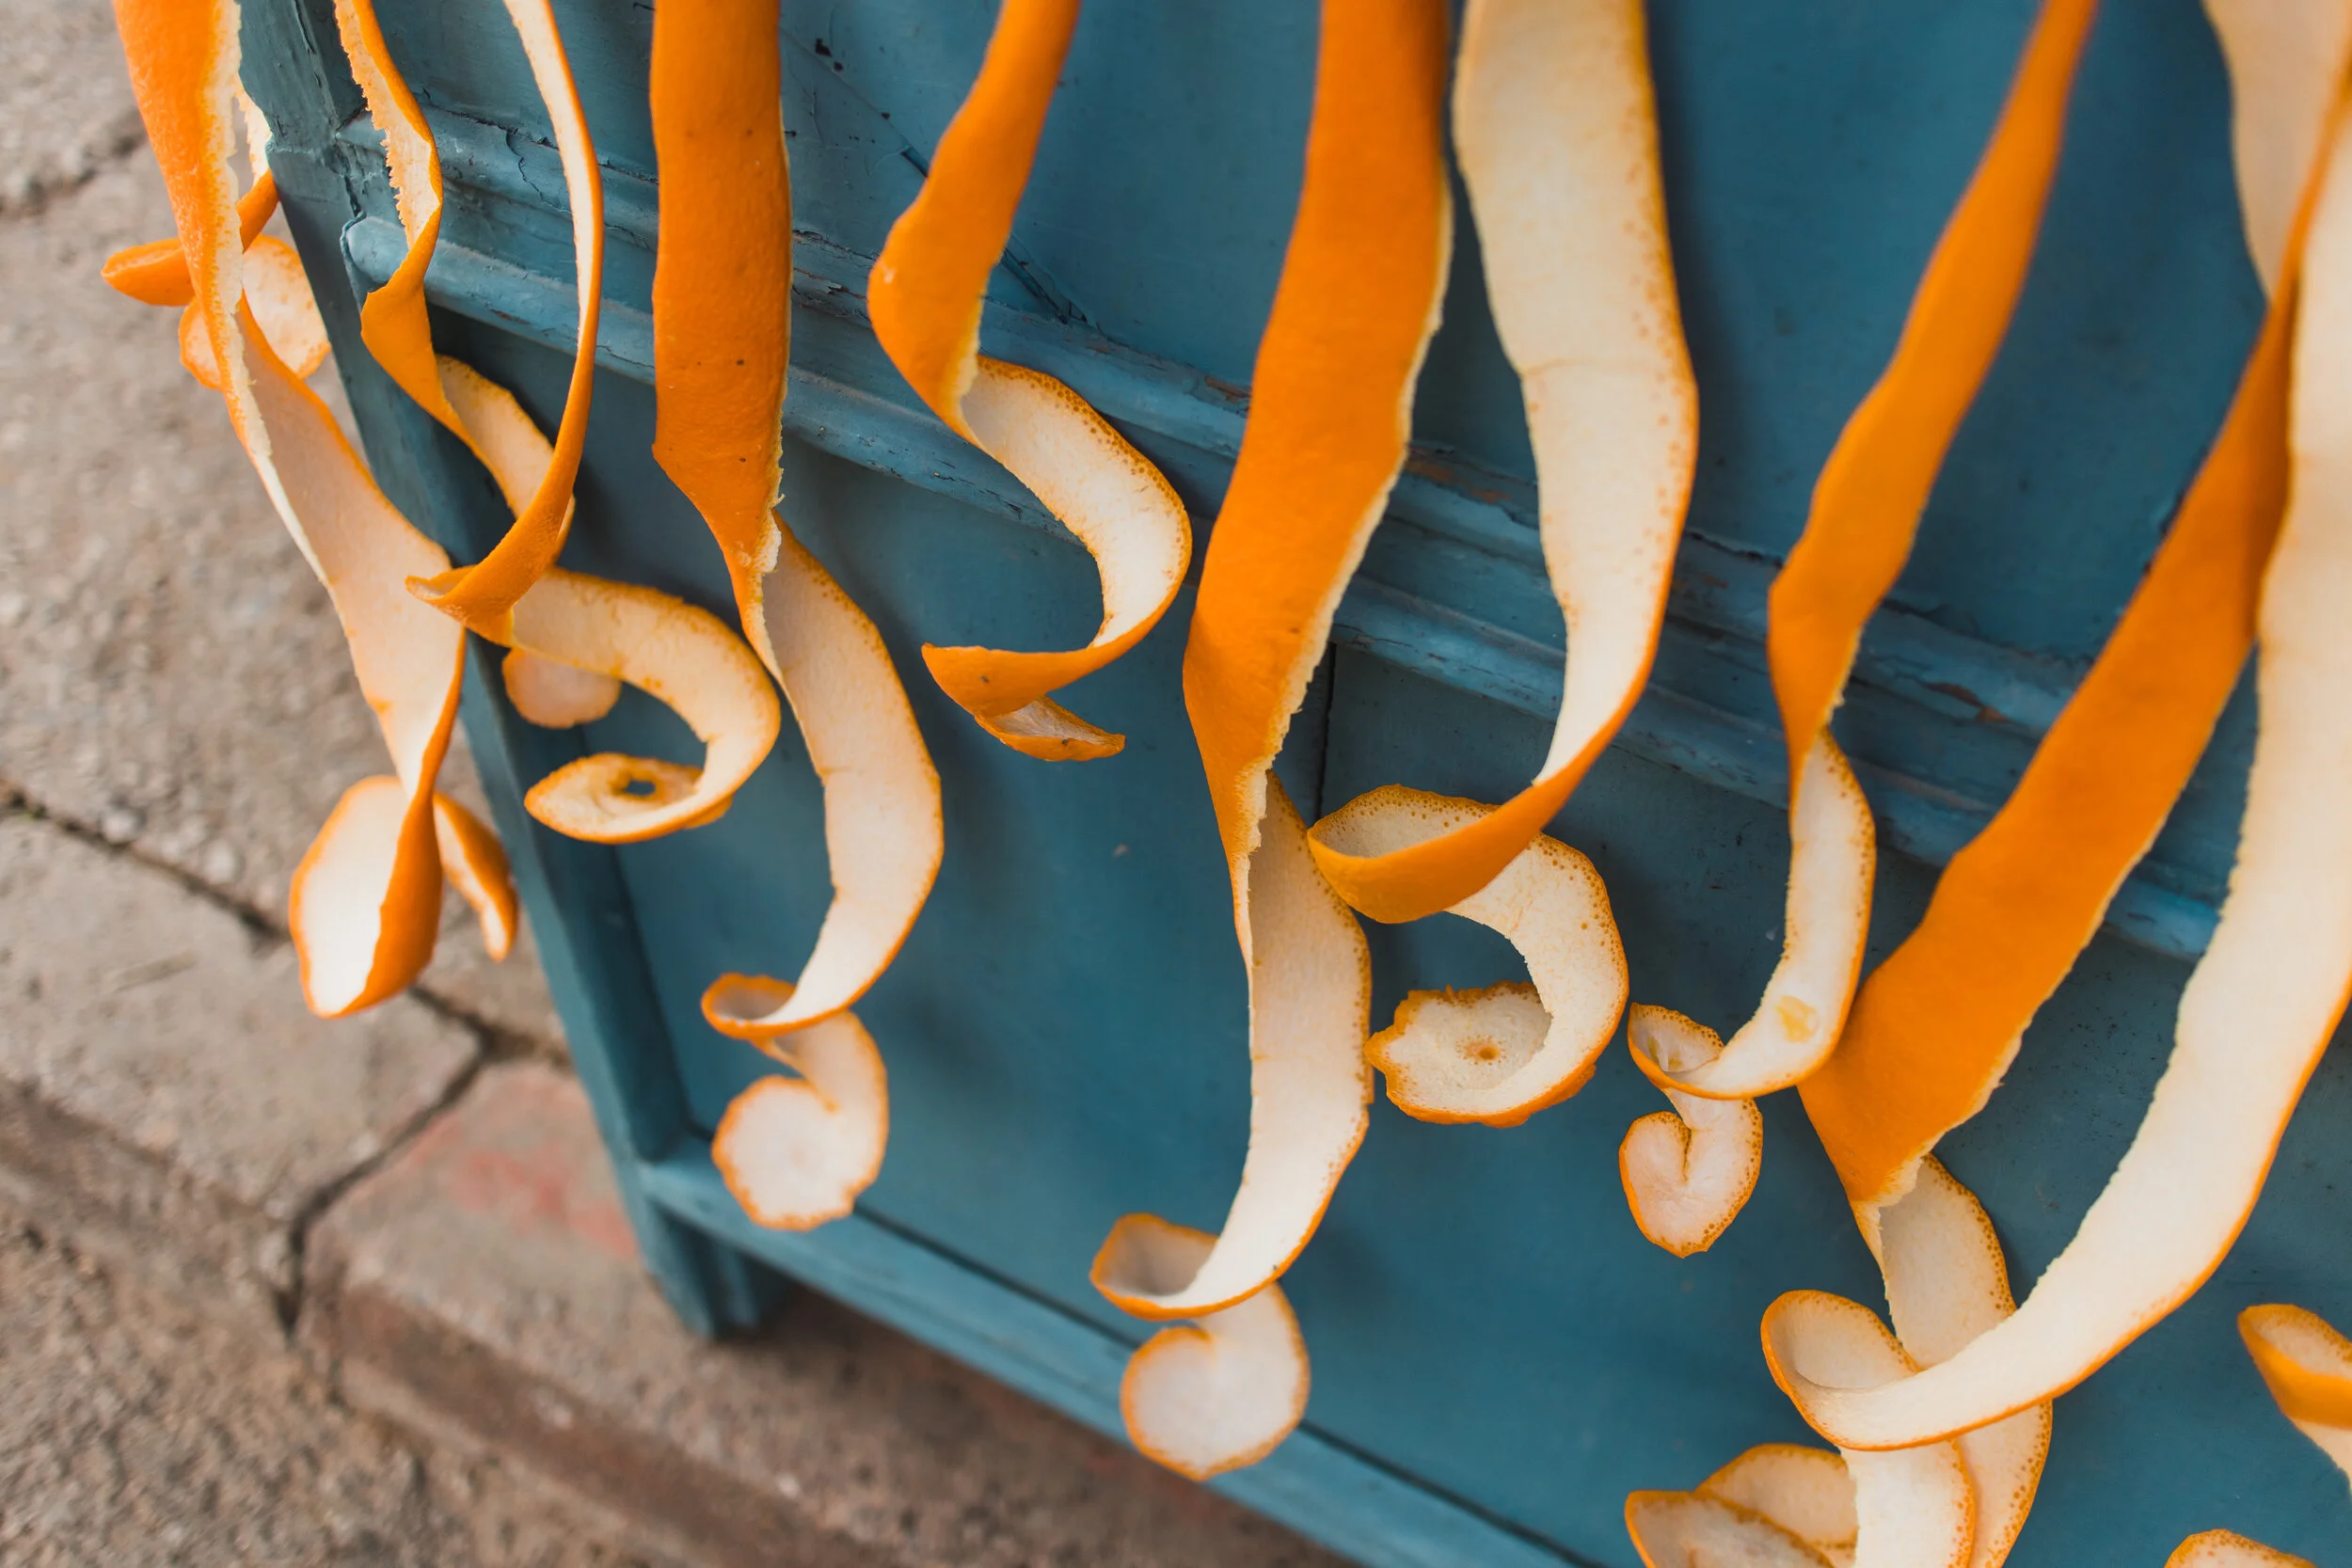
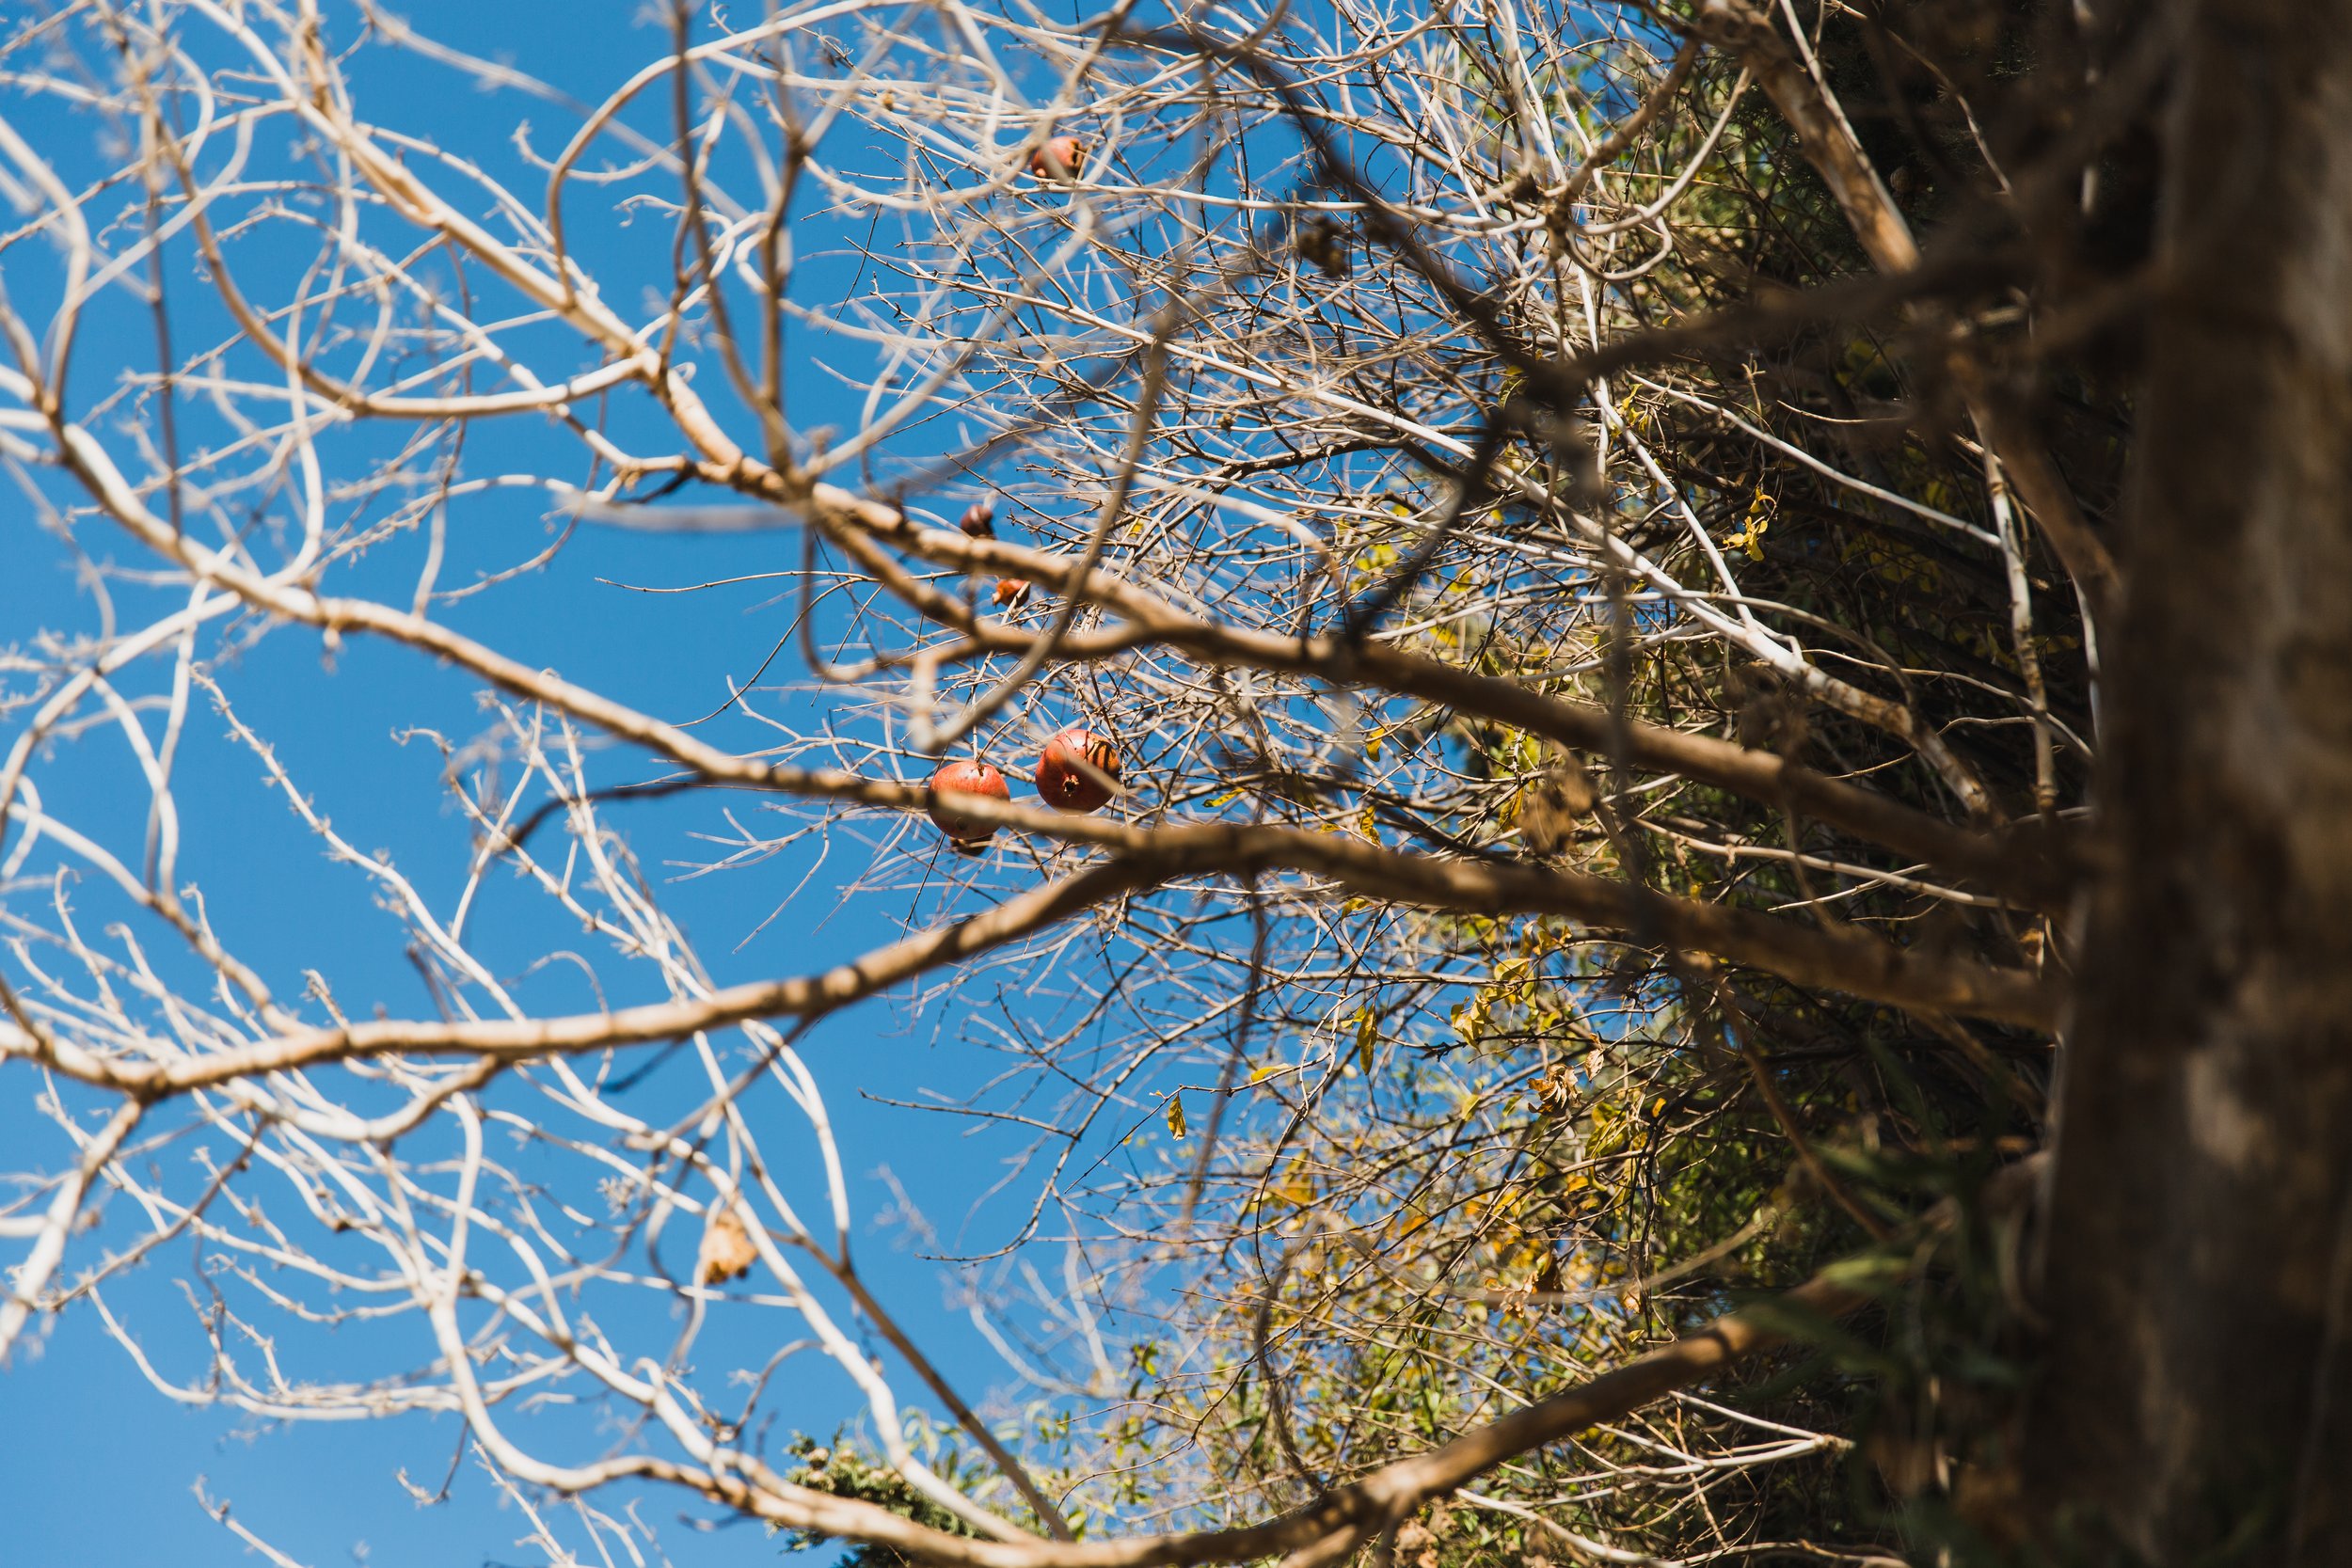
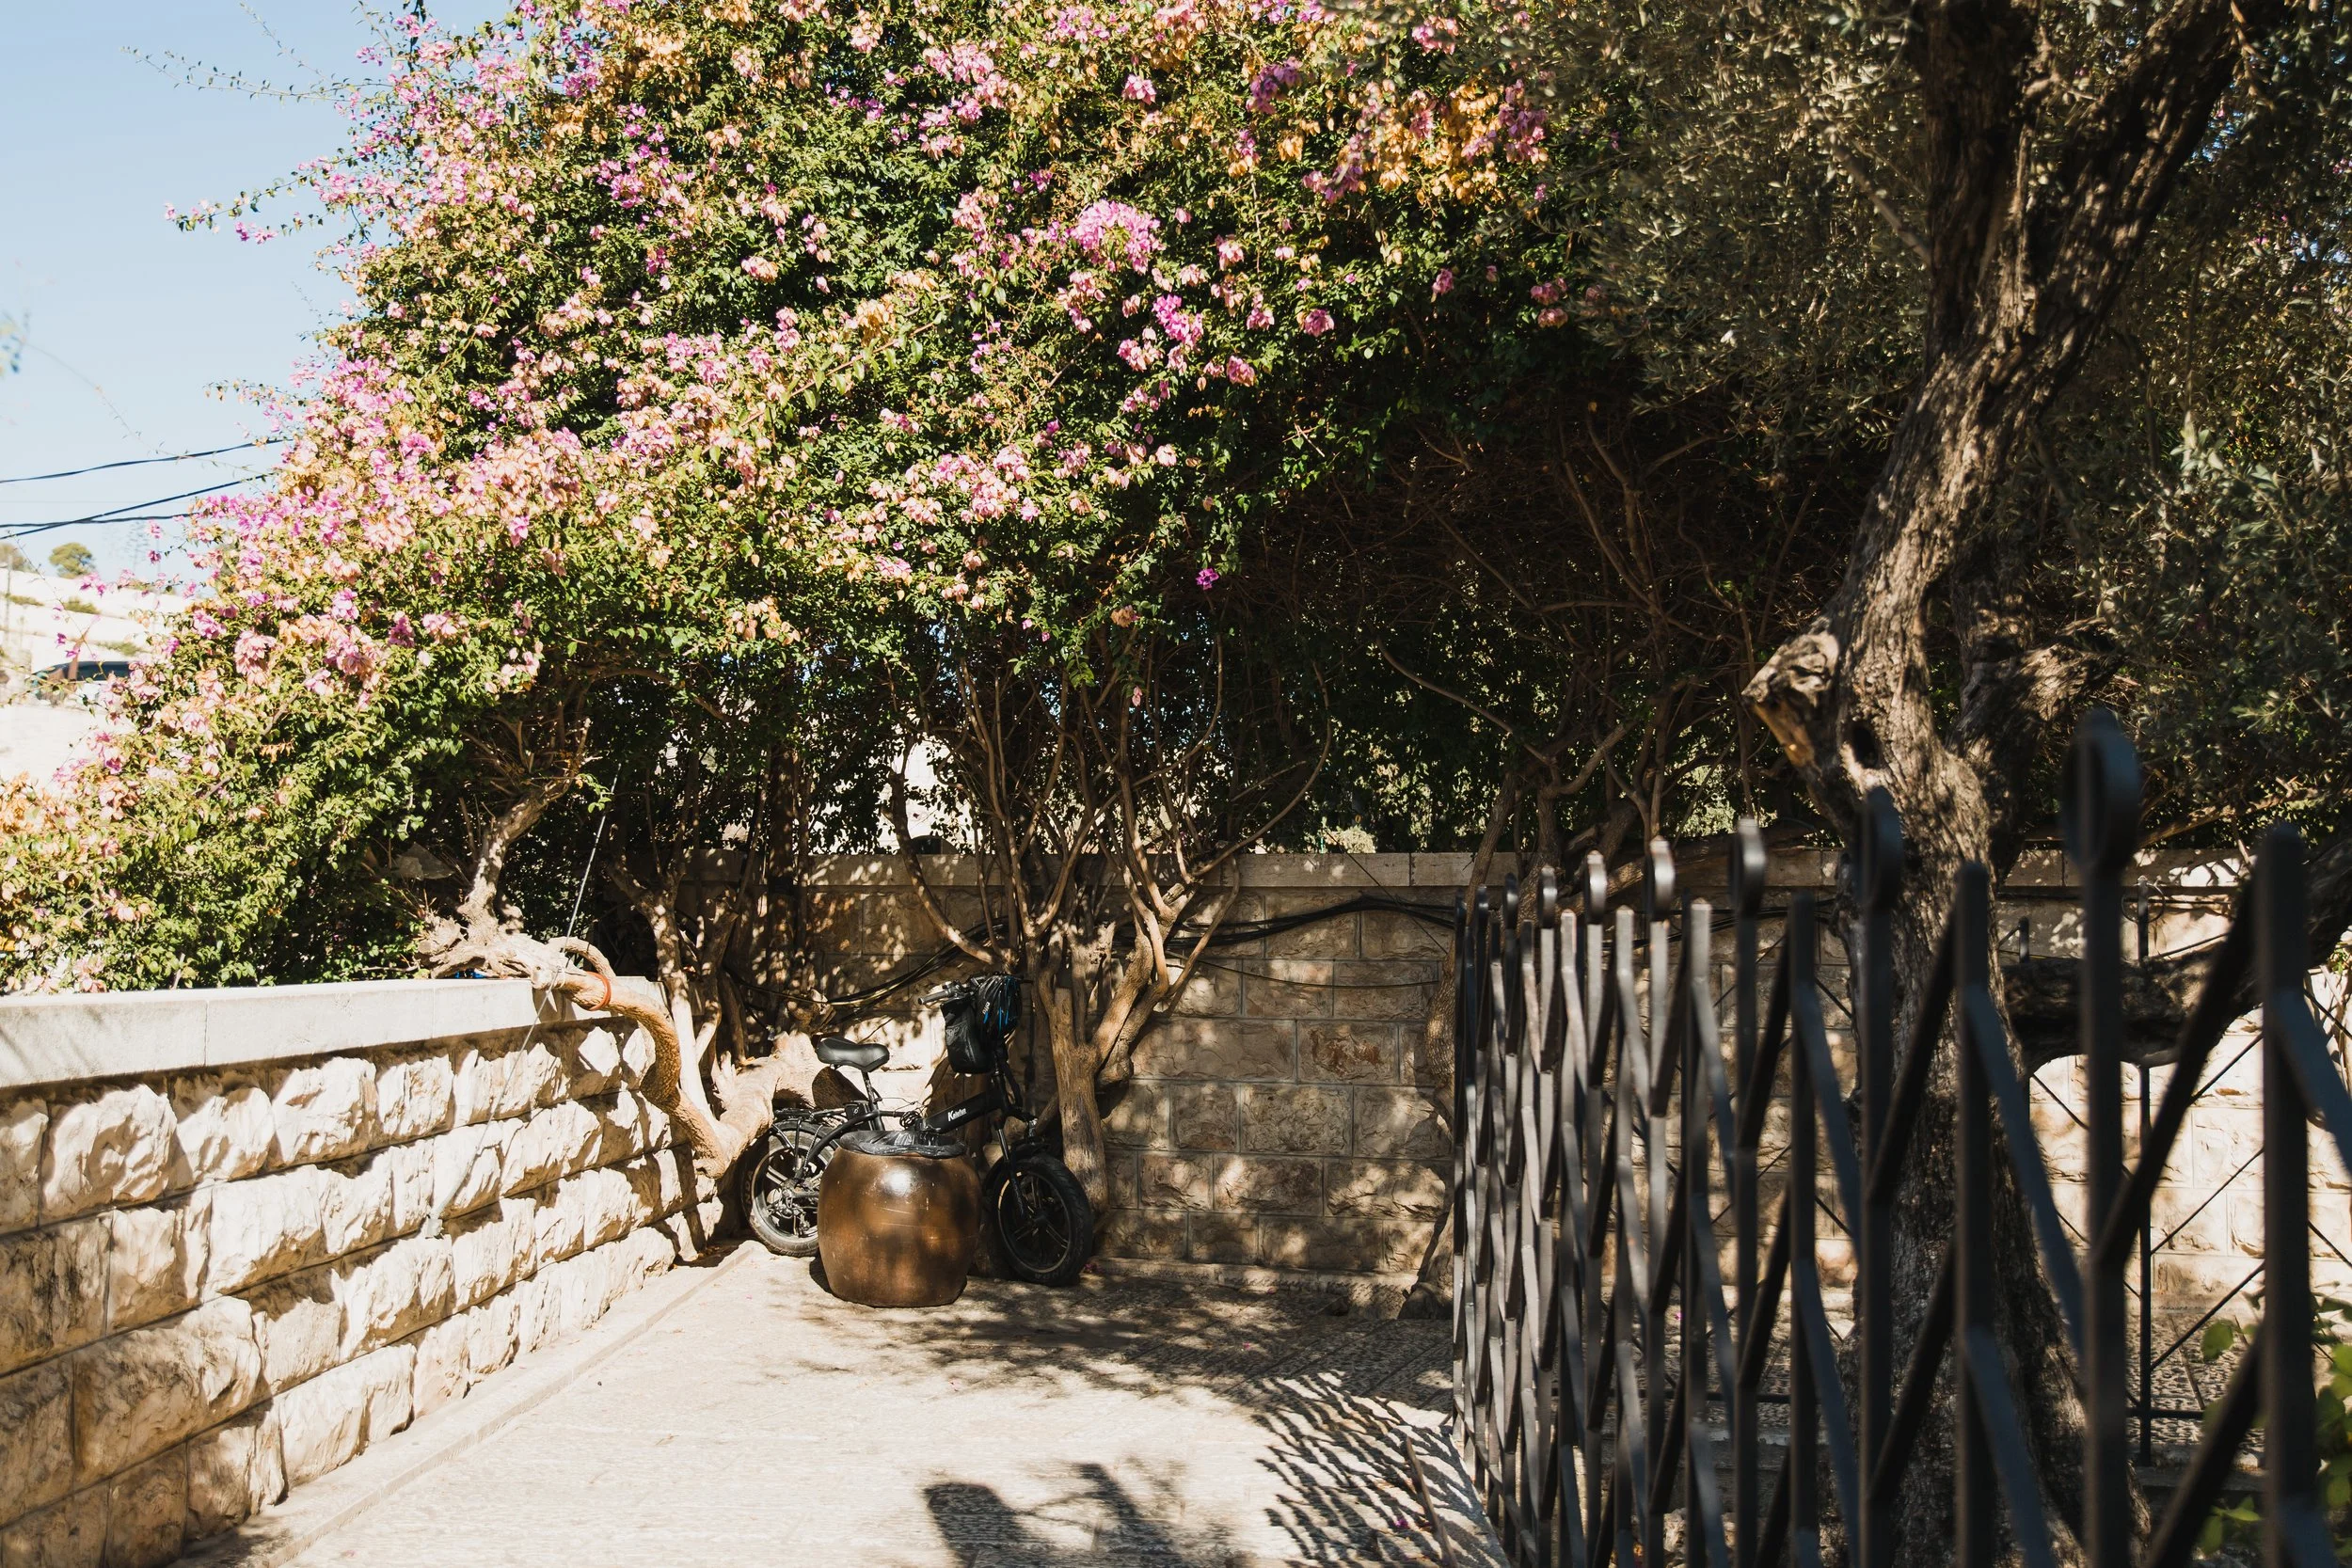
It can be easy to be taken aback by the beauty that the world has to offer with scenic landscapes. When you start becoming aware of your surroundings, you can take your photography to a deeper level on how to portray a location without the “classic shot”. Try to notice the details of what makes that place unique. For example, throughout Cambodia, there were cats EVERYWHERE. In Israel, I noticed pomegranates growing in trees, pomegranate stands everywhere, ceramic pomegranates. etc. In Bryce Canyon, I noticed how different all the trees looked. While I love taking landscape shots, it can be an eyeopener to notice all the details and remember to shoot those too!
Another common “theme” in my own work is motorcycles. Originally started photographing them to show my oldest brother all the different bikes from around the world.
TIP #4: WORK THOSE ANGLES
To help avoid burnout and maximize your efficiently while shooting take your shot, and then shoot it differently. Try getting further away or closer up. Another thing you can try is holding your camera above what you are trying to shoot. It’s all about making things fun which will encourage to shoot more and led you to becoming even better.
TIP 5: BE RESPECTFUL OF OTHERS
It should go without saying to be mindful of your surroundings and who might be in your photos when shooting. Photographs of people in public places should always be consensual. A rule of thumb that I use is if the person can be identified from the photo, ASK. Before pulling out your camera to photograph, have a conversation with the person and if they’re selling a product, consider purchasing it. I have gotten everything from spices, orange juice, and textiles and have talked to some pretty cool small business owners. Engaging in conversations is a great way to add depth to your travels. Don’t speak enough of the language to ask them for a photo? Learn enough to ask '“Can I take your photo”? Your pronunciation will be probably terrible, and they will probably laugh at you all part of the “experience”. They will most likely appreciate the effort that you took to learn too :)
Take any of this advice with a grain of salt. If you walk away with any piece of advice, take this, if you visit a place where a tragedy occurred, put the camera away completely. Take this time to reflect and minimize distractions. While it’s important to share the stories of tragedies that occurred with others, it’s important for us to be respectful not only to the victims who may have passed but to their families. For example, while I was visiting The Killing Fields in Cambodia, I saw many people take photos of human remains on the grounds. Rather than taking photos, encourage other people to read about what happened or to visit the site for themselves.
I hope that you pack some of these tips away for your next vacation!
Bon voyage,
Clare Irene
Want to view the current collection of my travel work? Visit my print shop Prints — clare Irene photography and I’d be thrilled if you checked out my Instagram: @clareirenetravels
